Overview
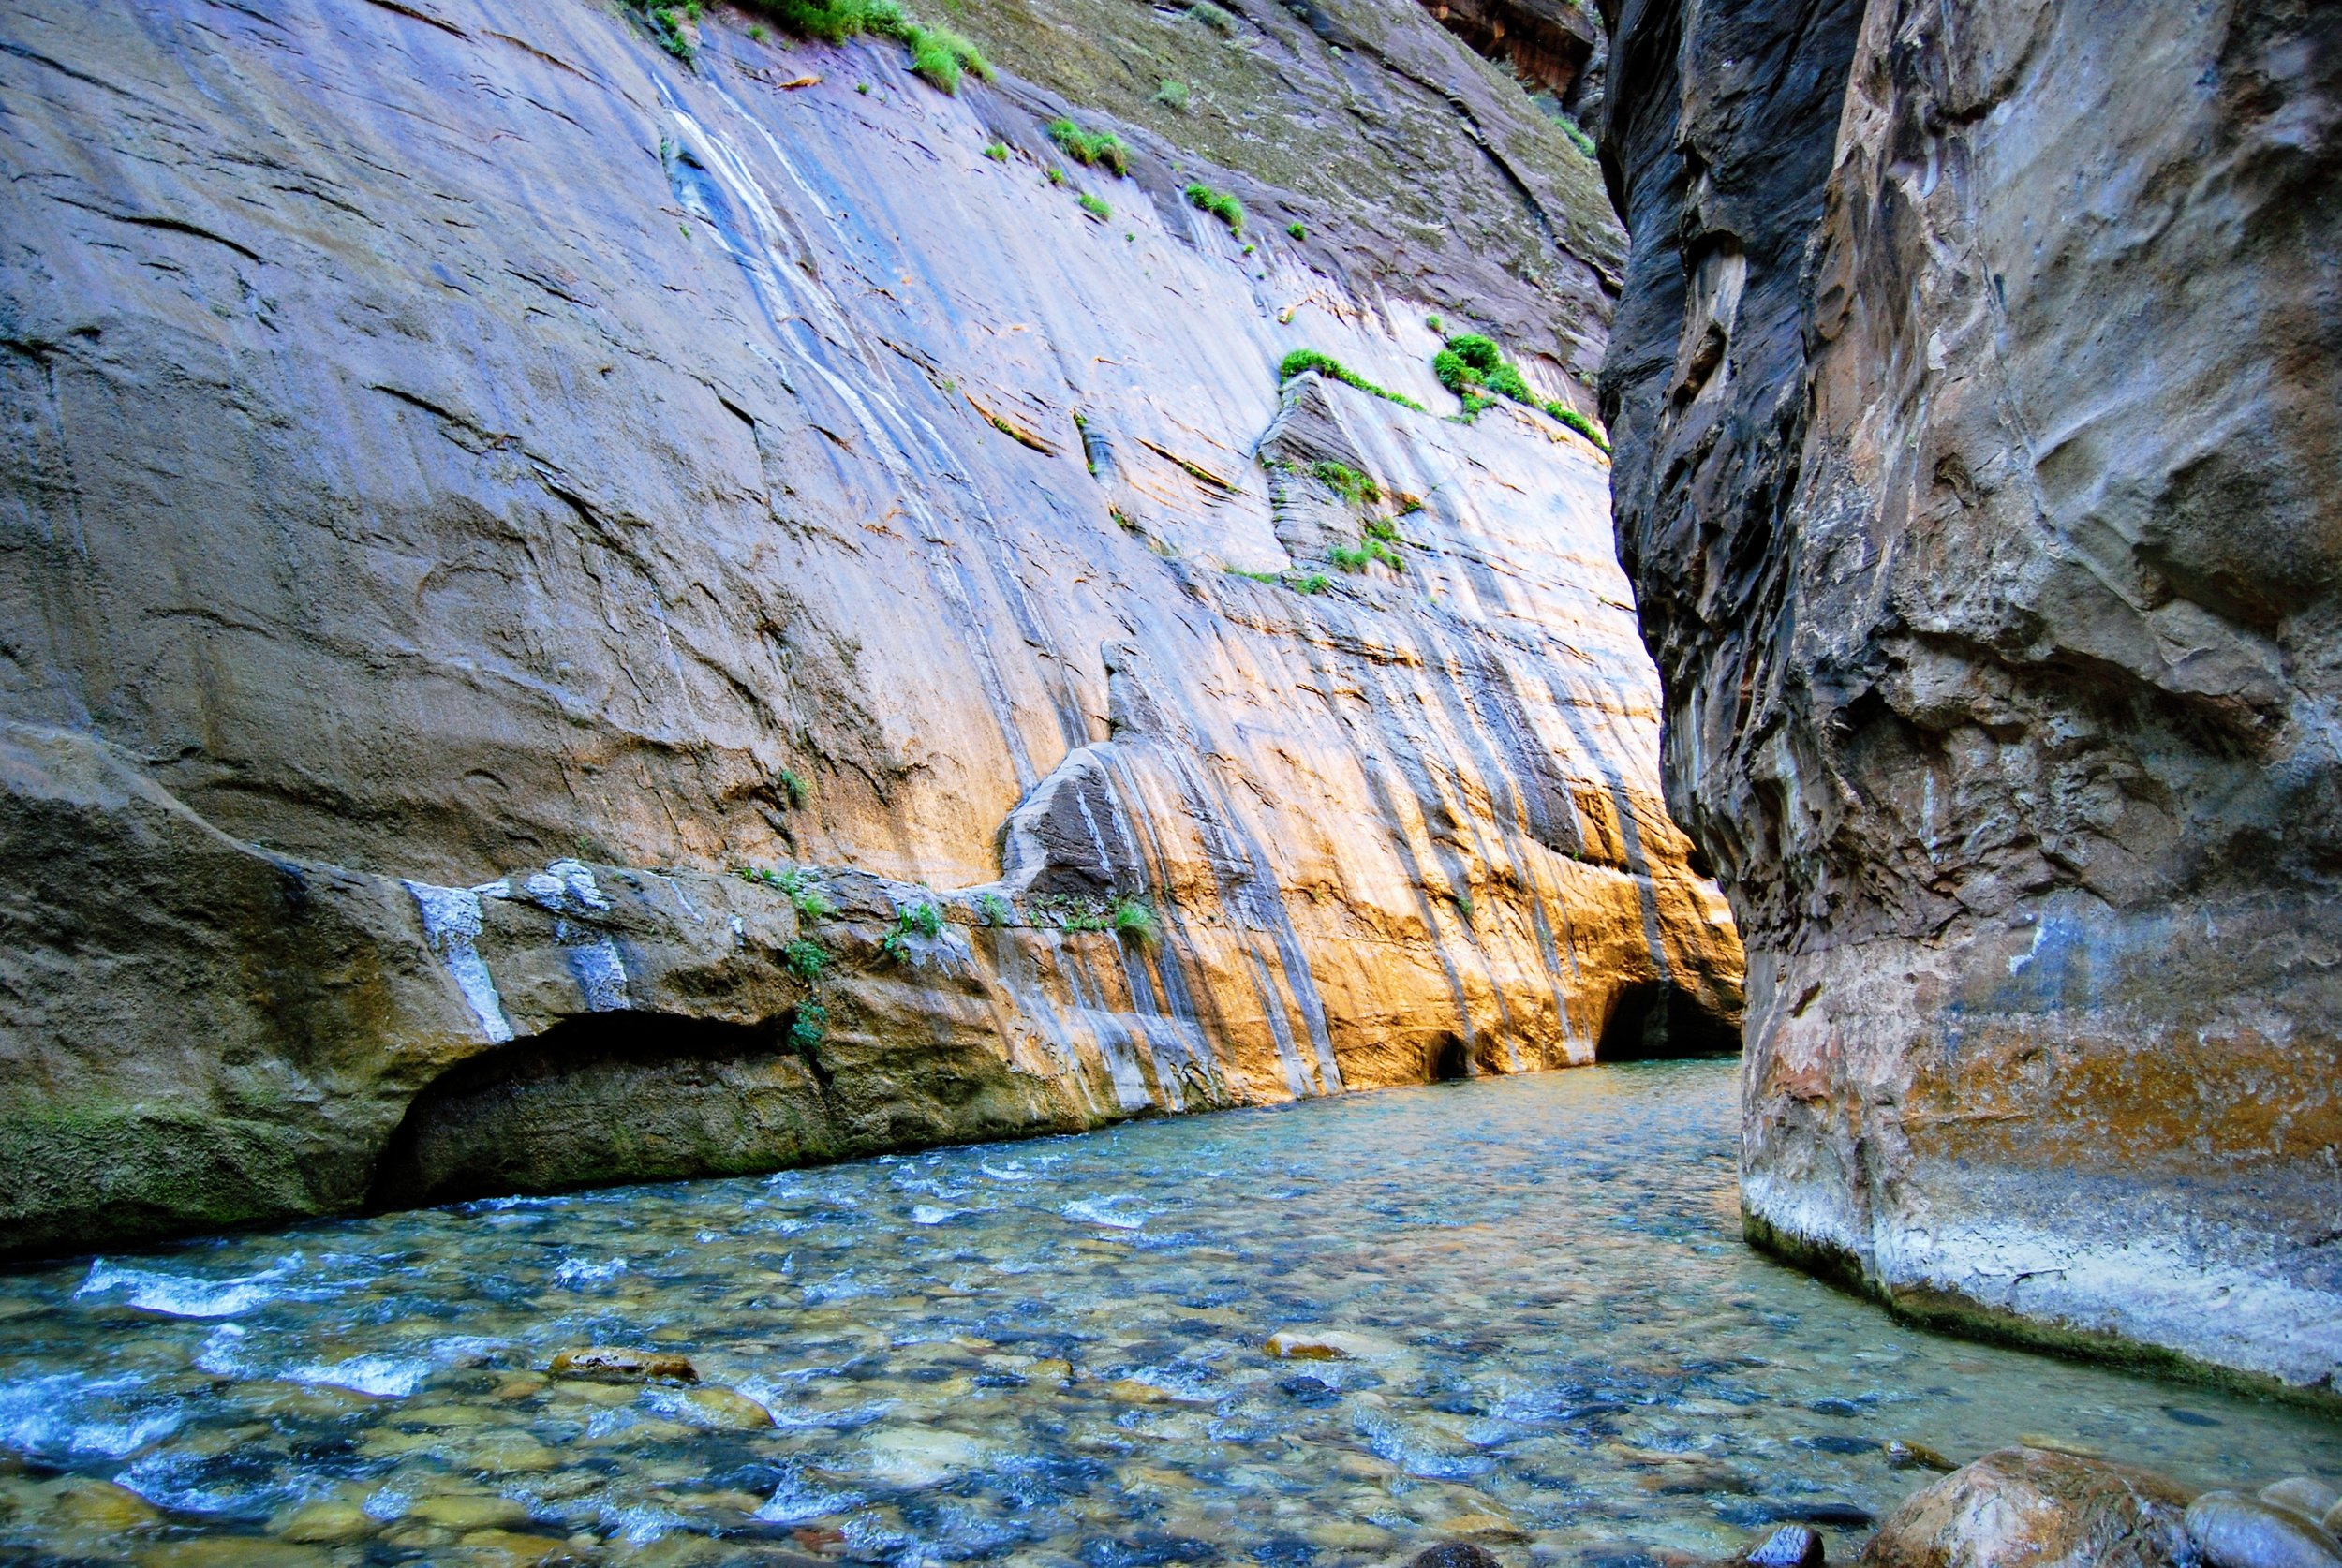
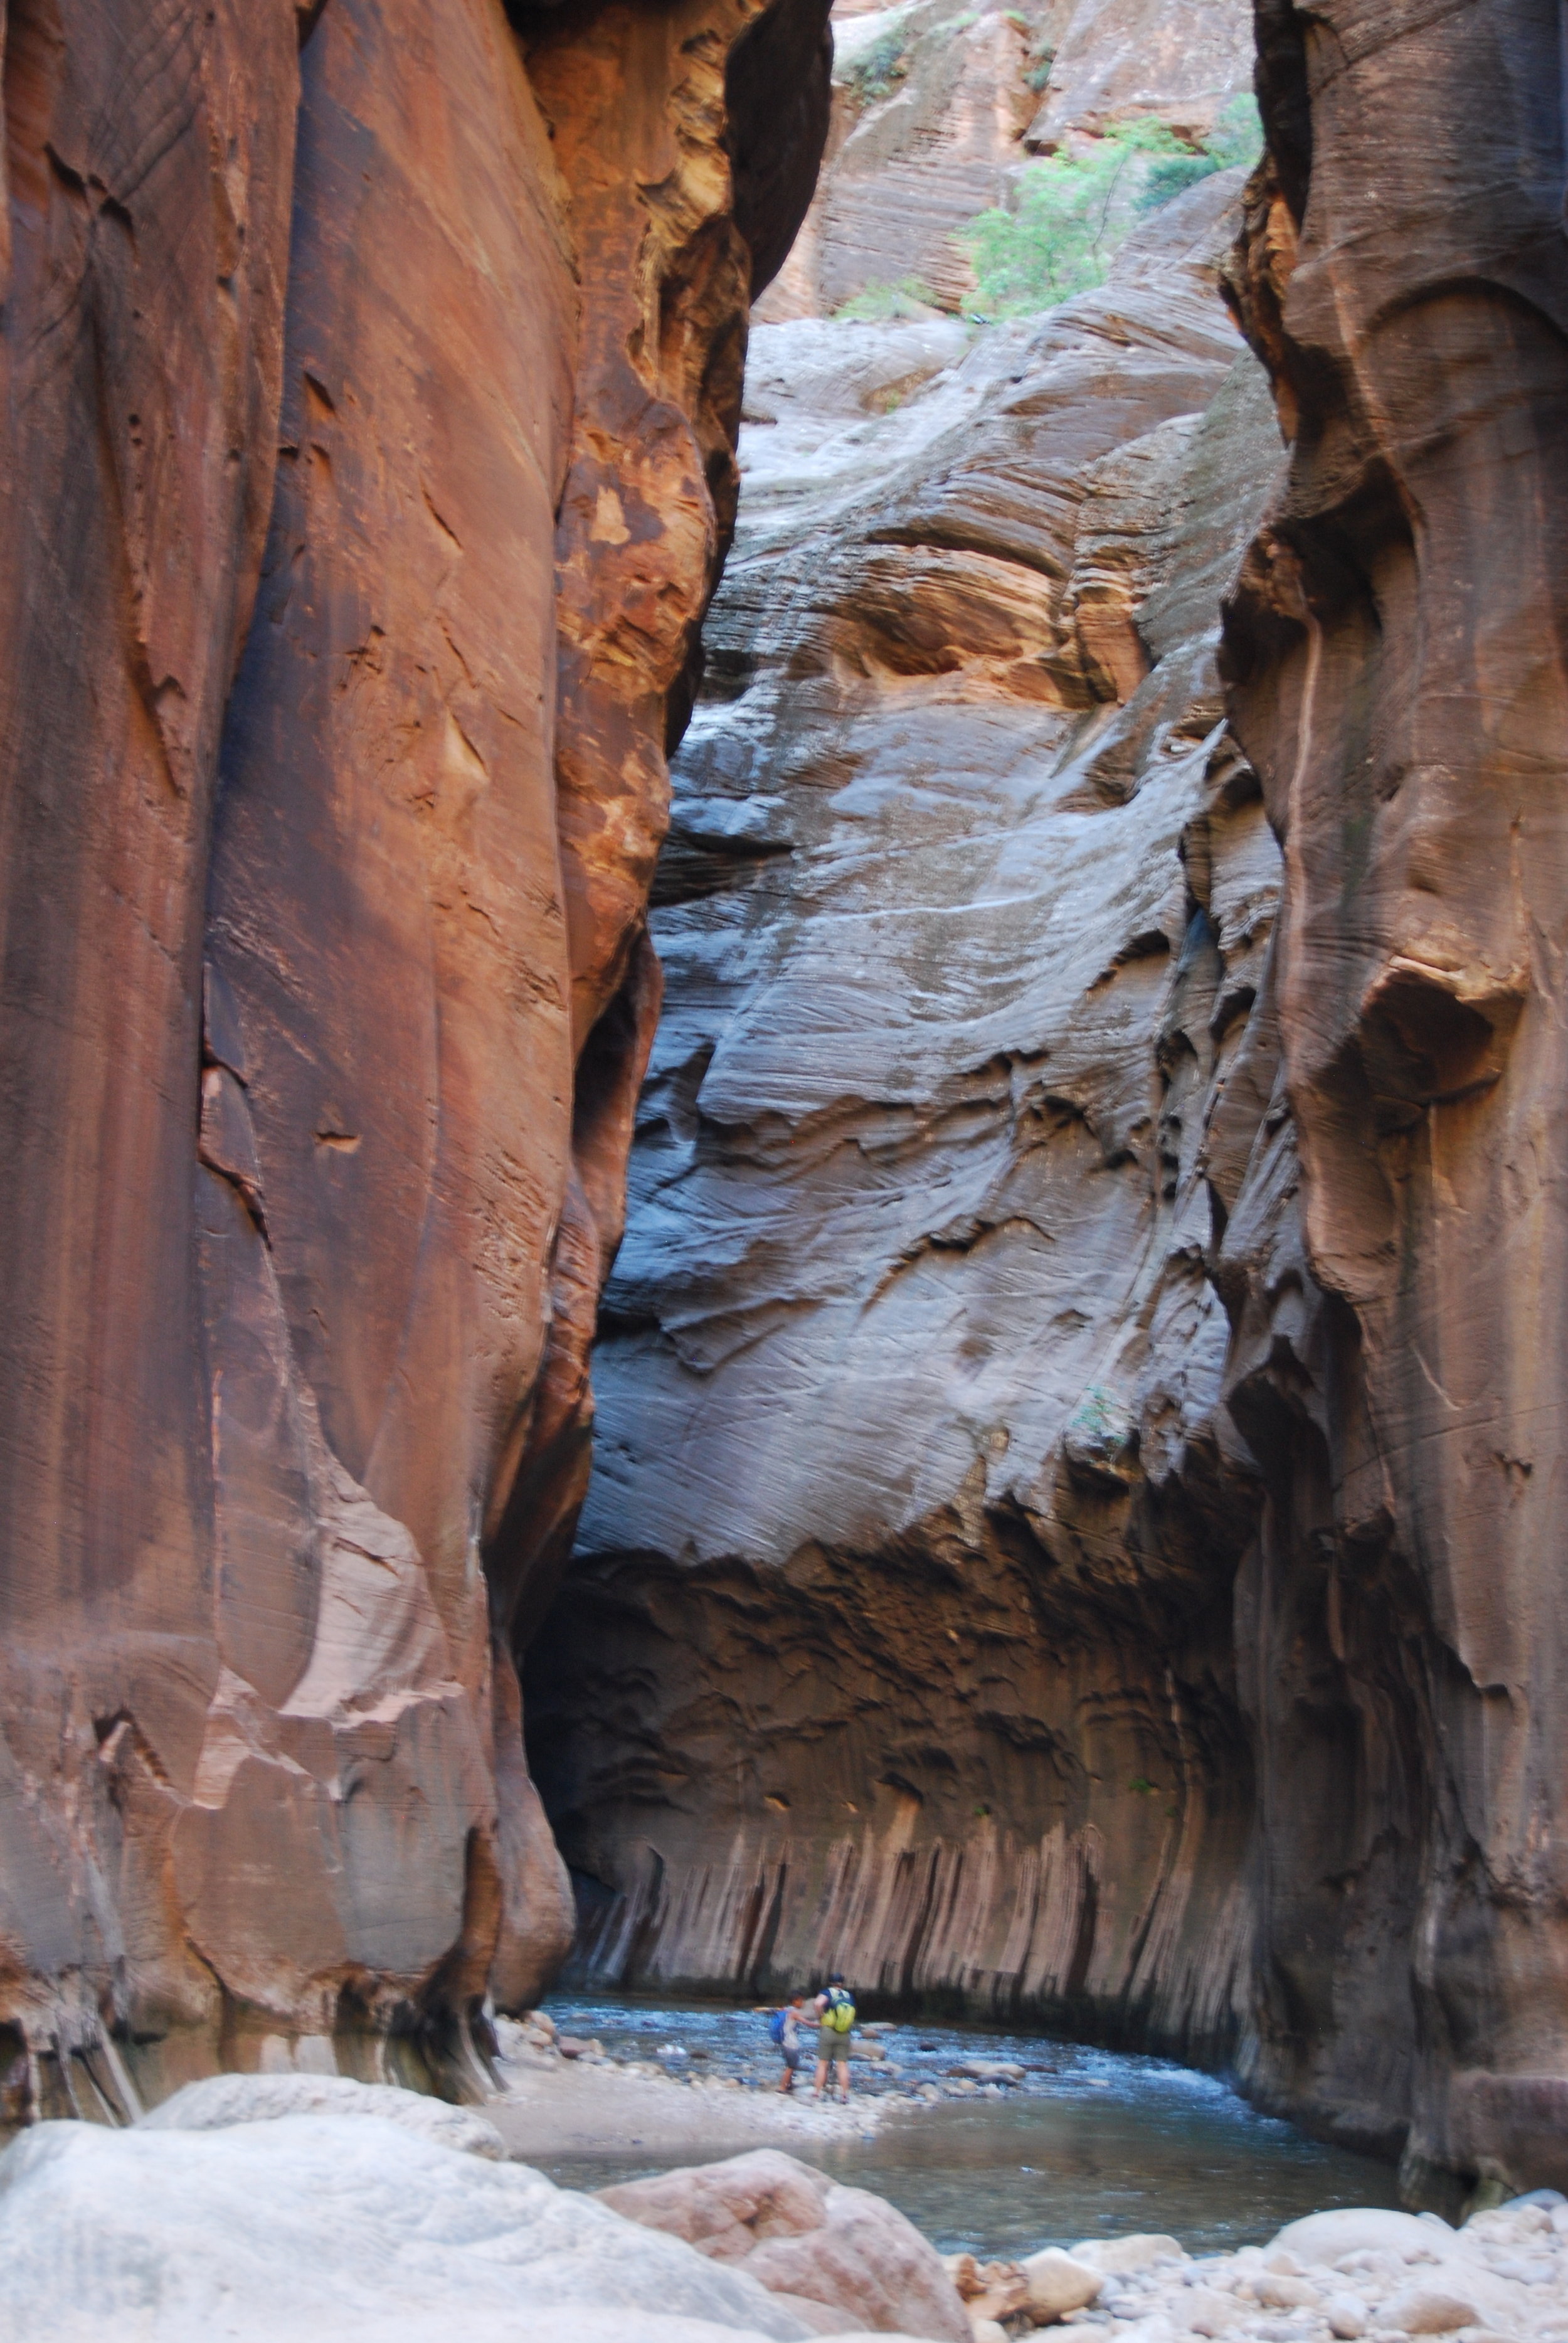
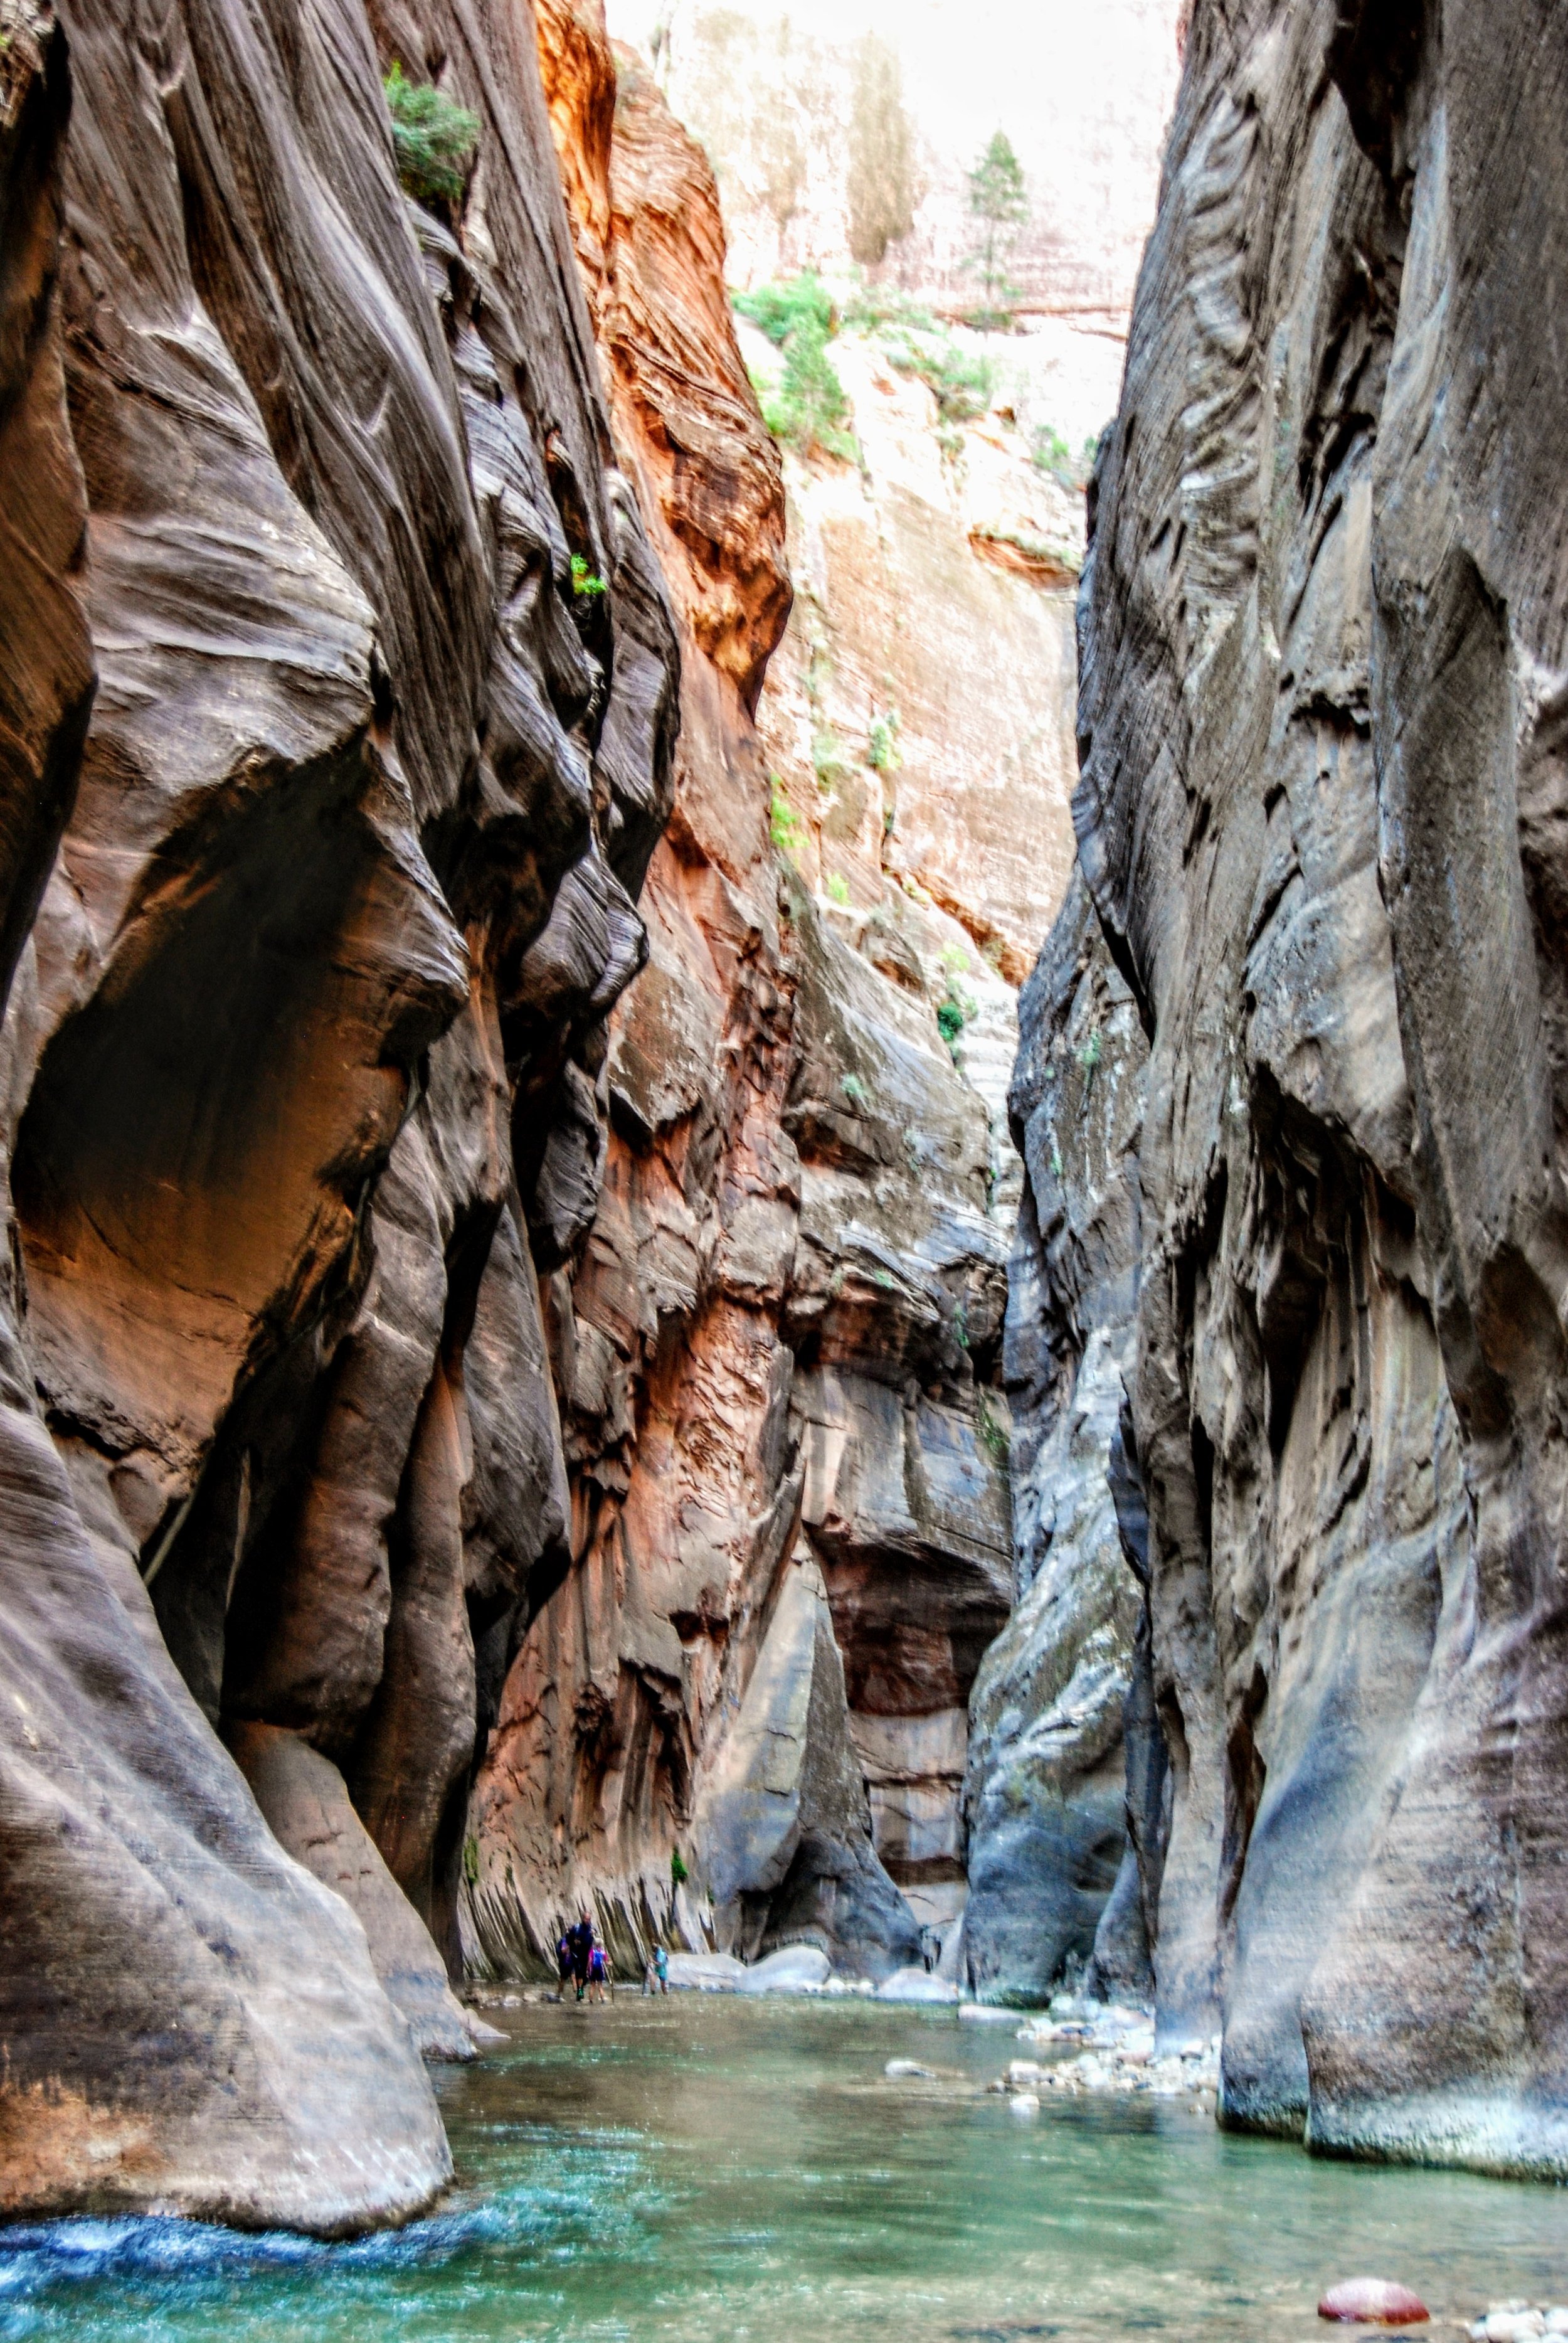
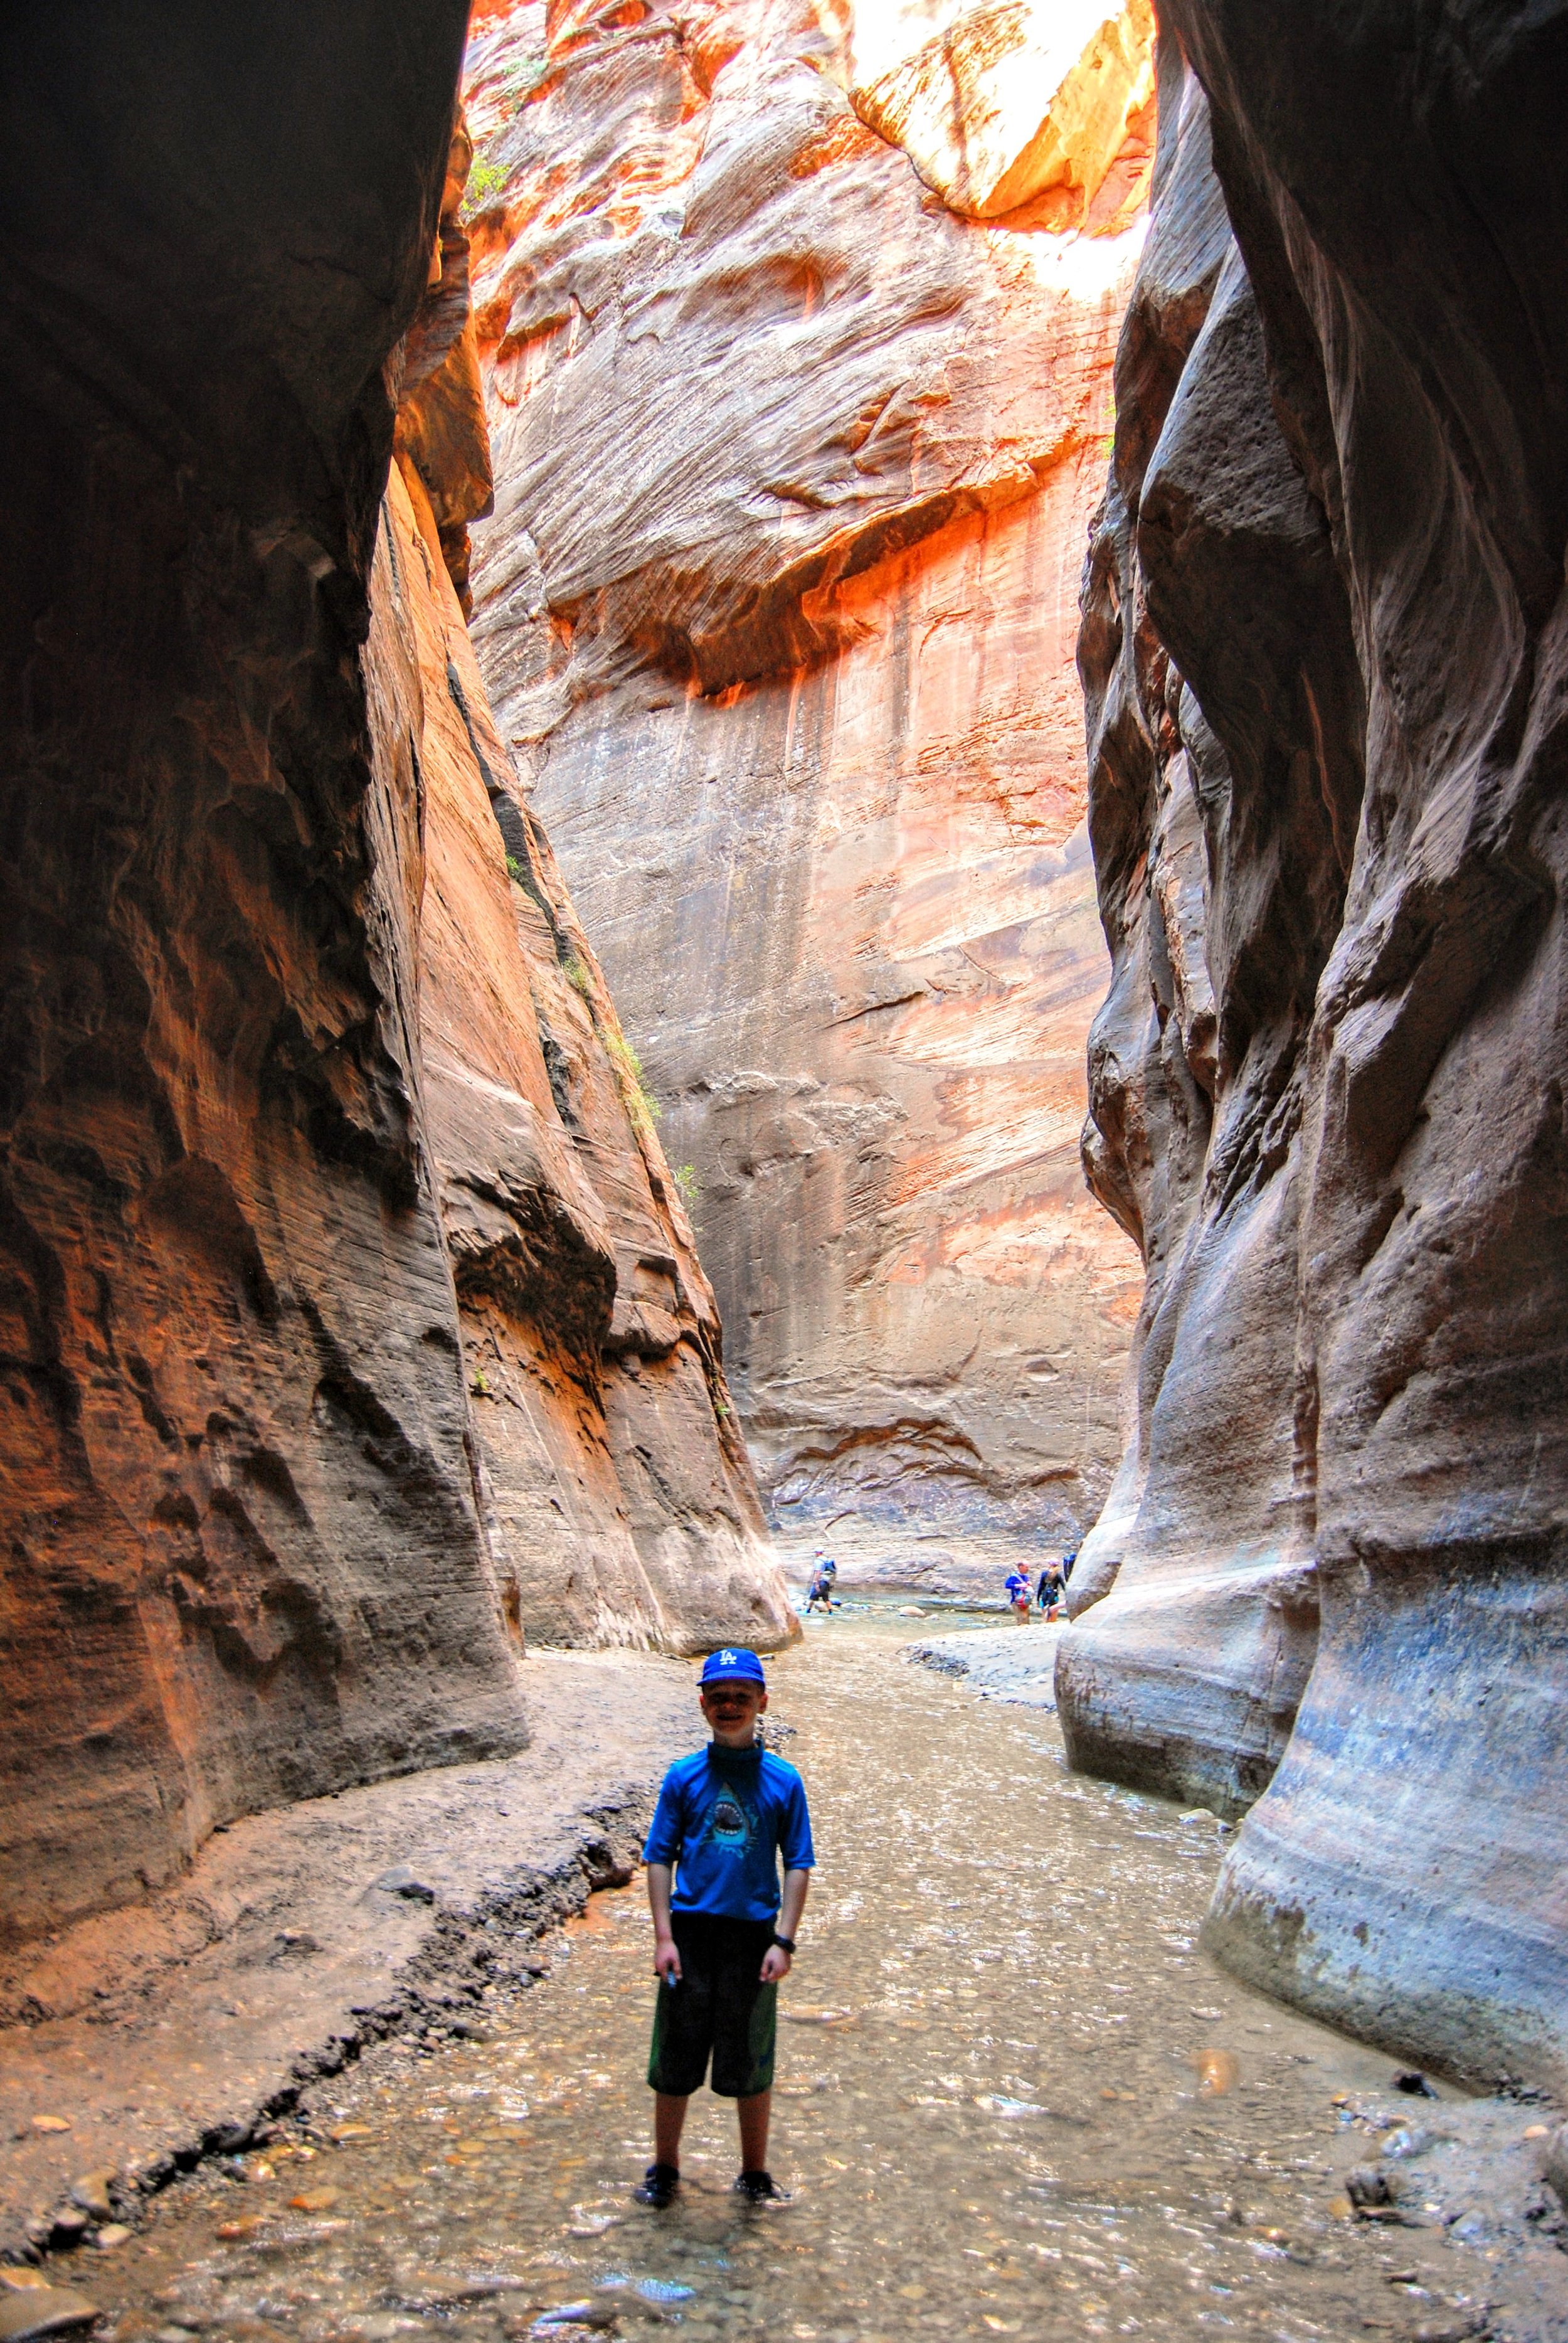
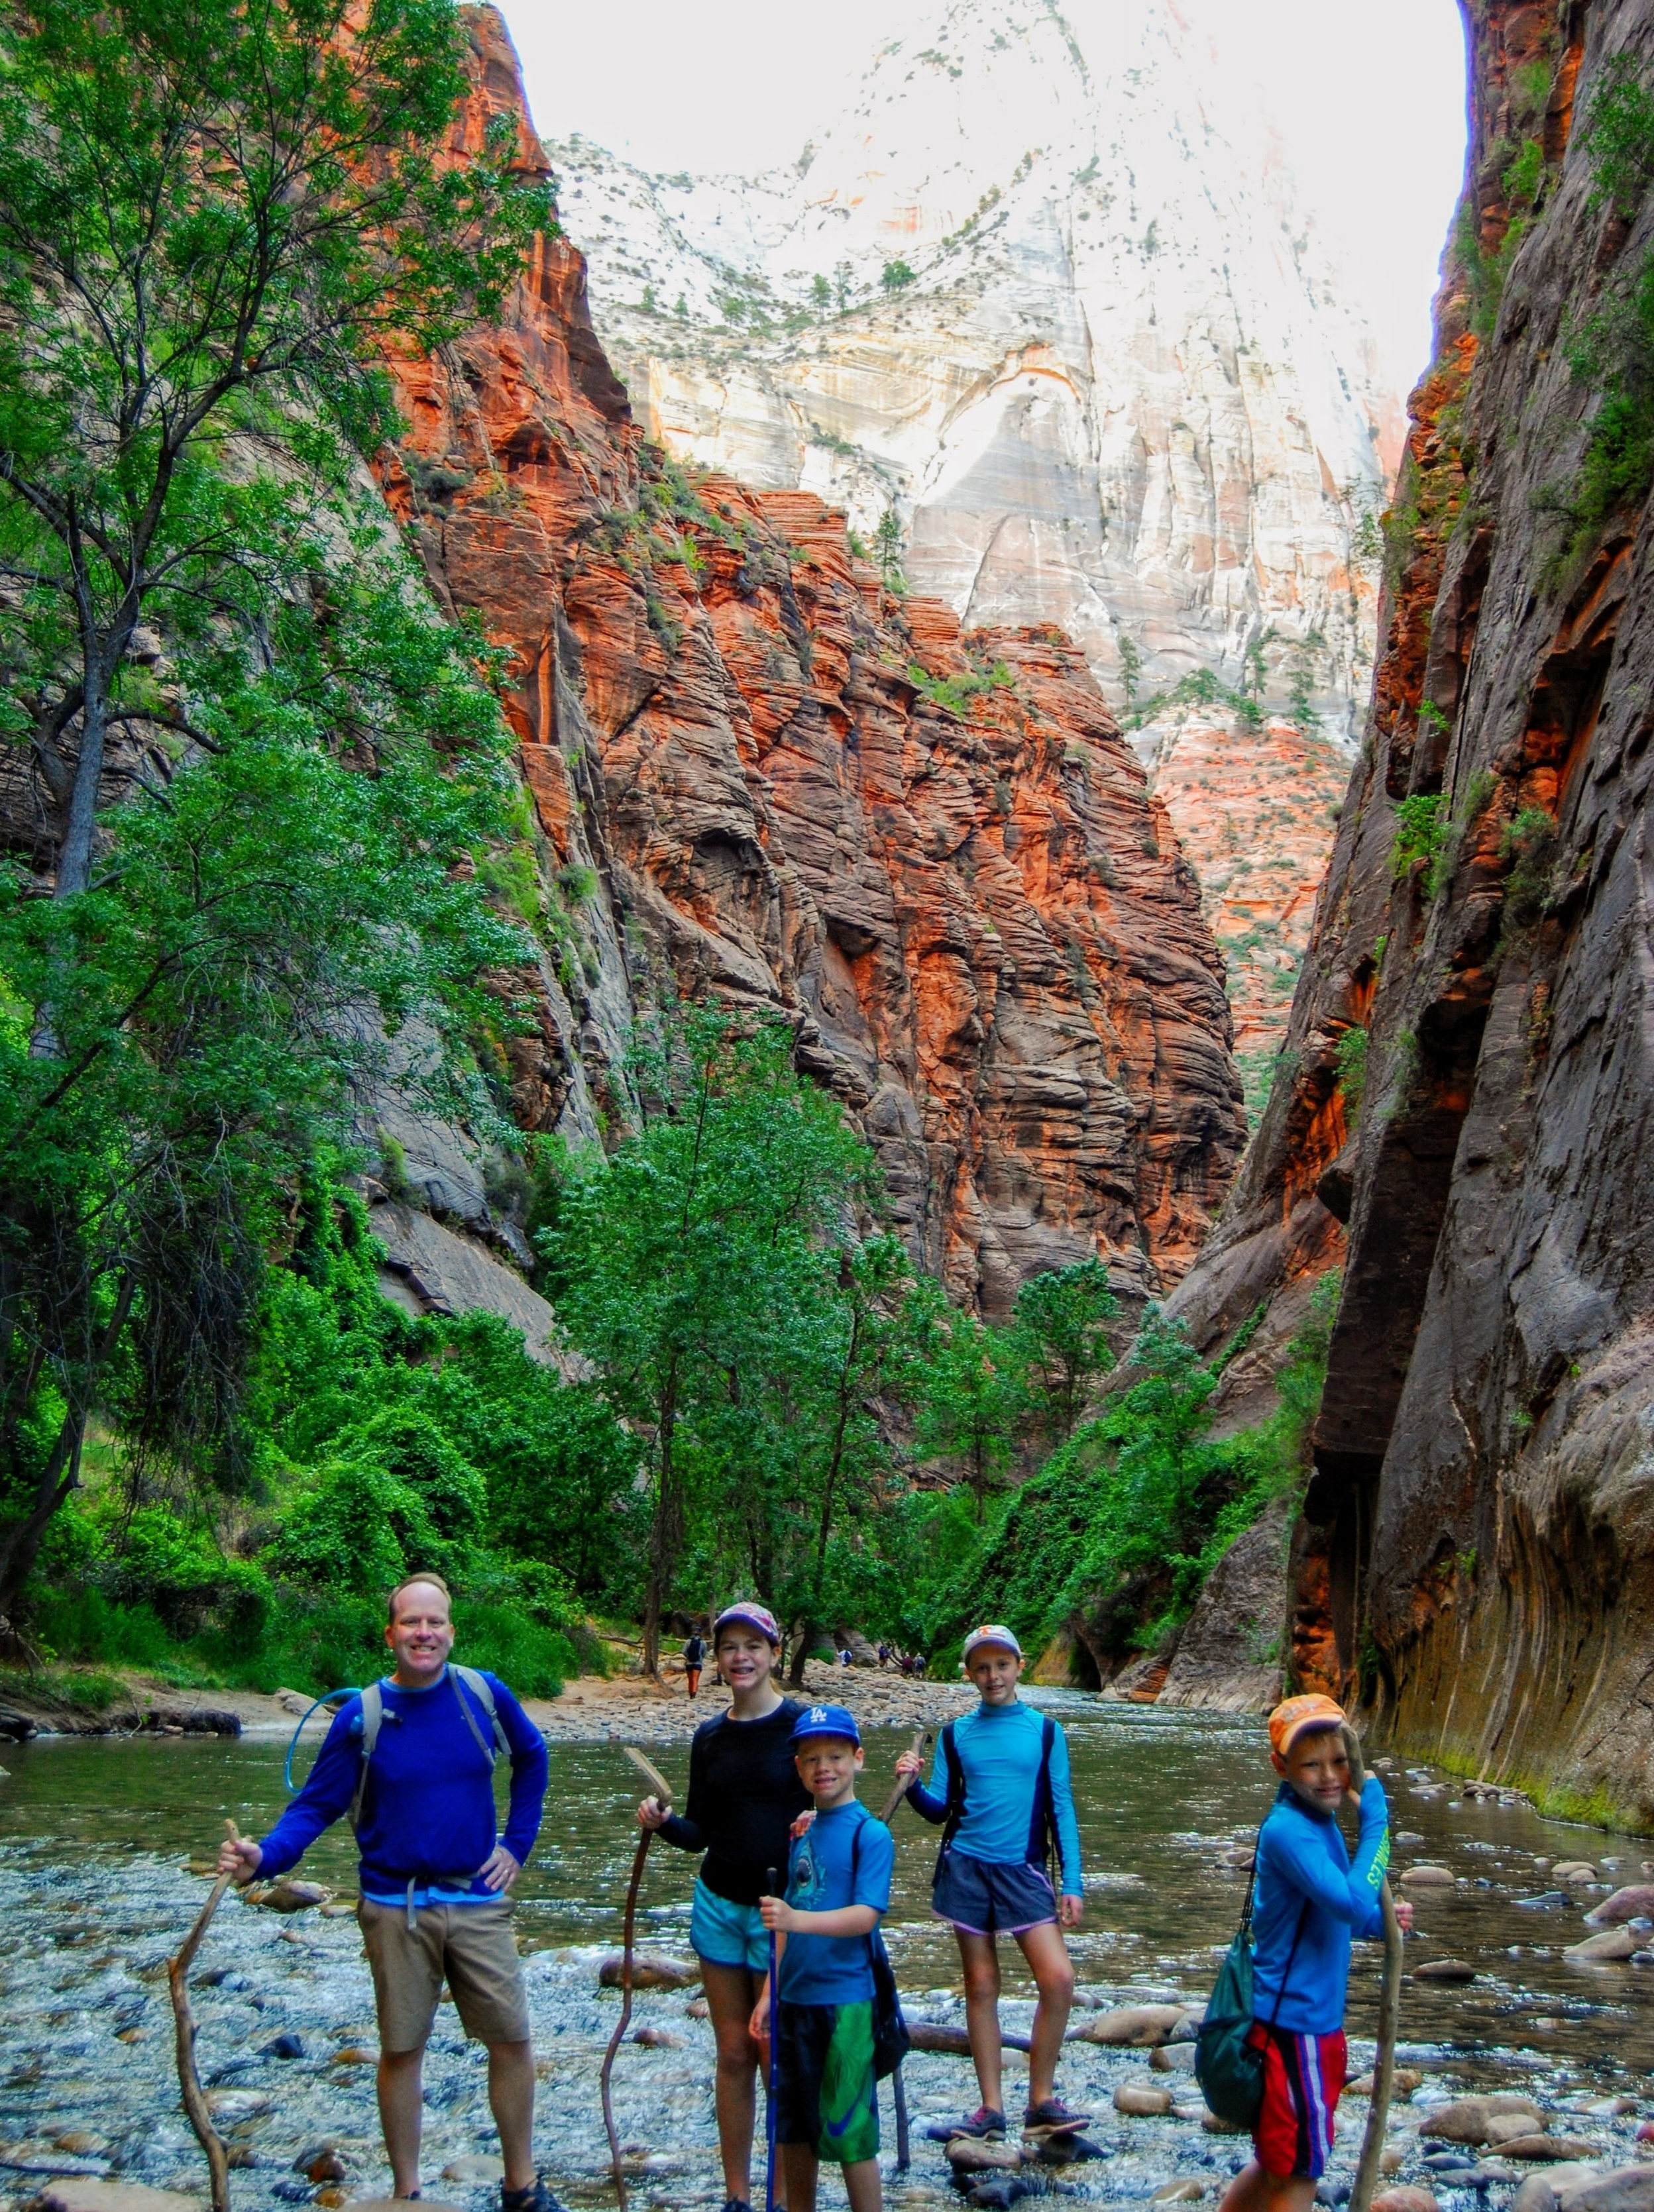
The Narrows is one of the most iconic hiking trails in the world because of its spectacular scenery, easy access, and the oddity of the actual trail being the river. It has been on my bucket list for years and was a must-do for me when visiting Zion National Park.
It was a fantastic hike that the kids thoroughly enjoyed and still talk about. It totally lived up to our expectations. (And mine were pretty high.)
That being said, there are significant dangers associated with this hike. The distinctiveness of hiking in the river also requires additional preparation. And hiking it with kids adds even more challenges.
I read everything I could find before our trip, from official guidebooks to blogs, because I feel more comfortable knowing what to expect. (I also just love doing research. No joke.)
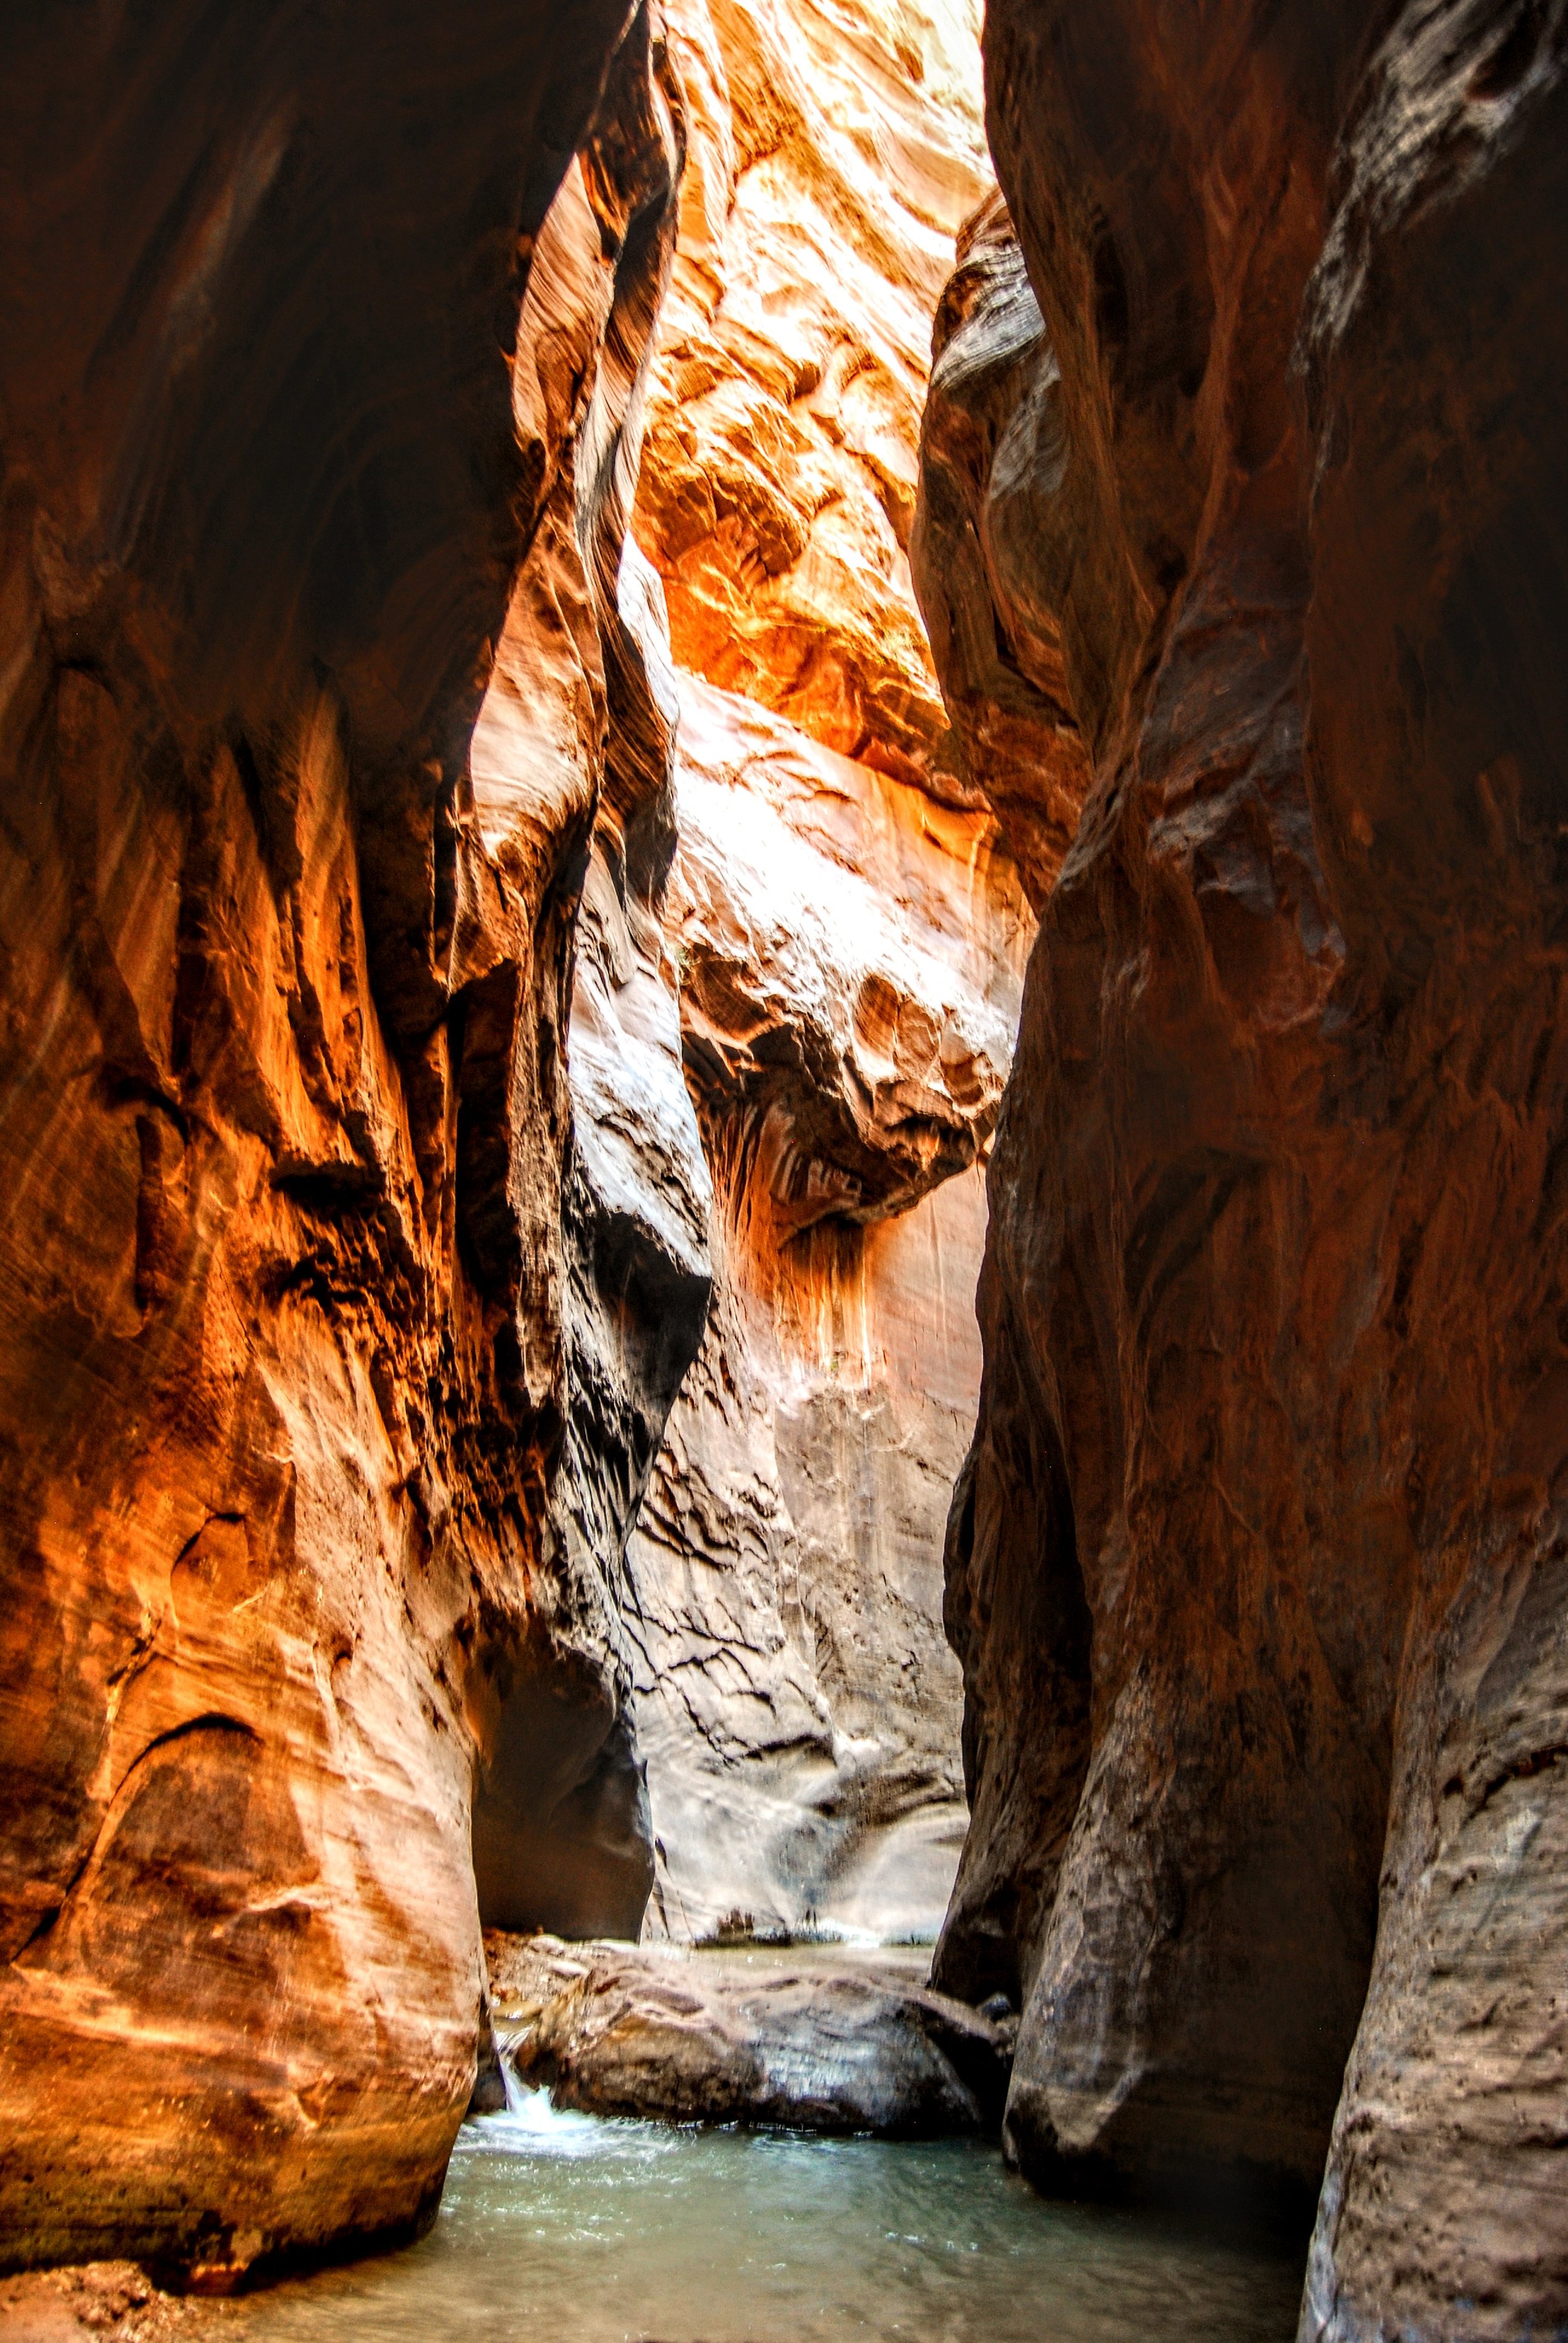
It is really hard to take a bad picture on this hike.
Here Is Every Tip That I Found Useful Or Wish I Had Known Beforehand
Trail Description
Start At The Temple Of Sinawava Shuttle Stop
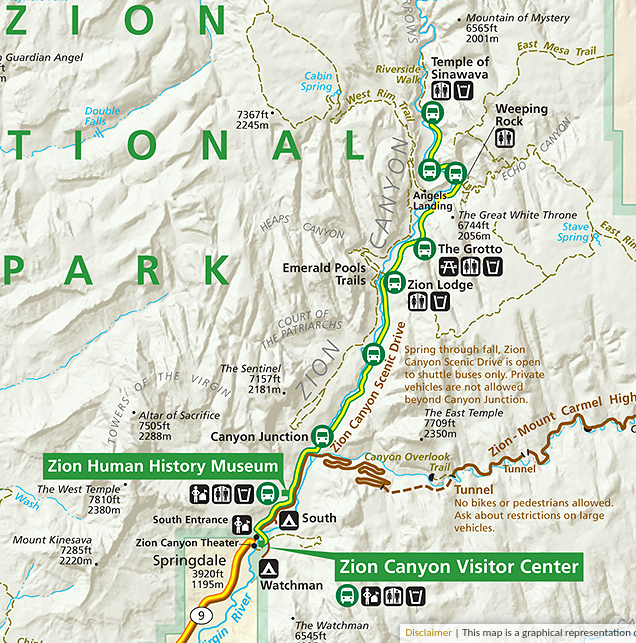
The trailhead is at this shuttle stop at the far end of the main canyon of Zion. From February-November, the park is closed to private vehicles so you must ride the free shuttle from the Visitor Center. It is roughly a 45 minute ride, depending on how many people get on and off at each of the 9 stops.
Map courtesy of the National Park Service
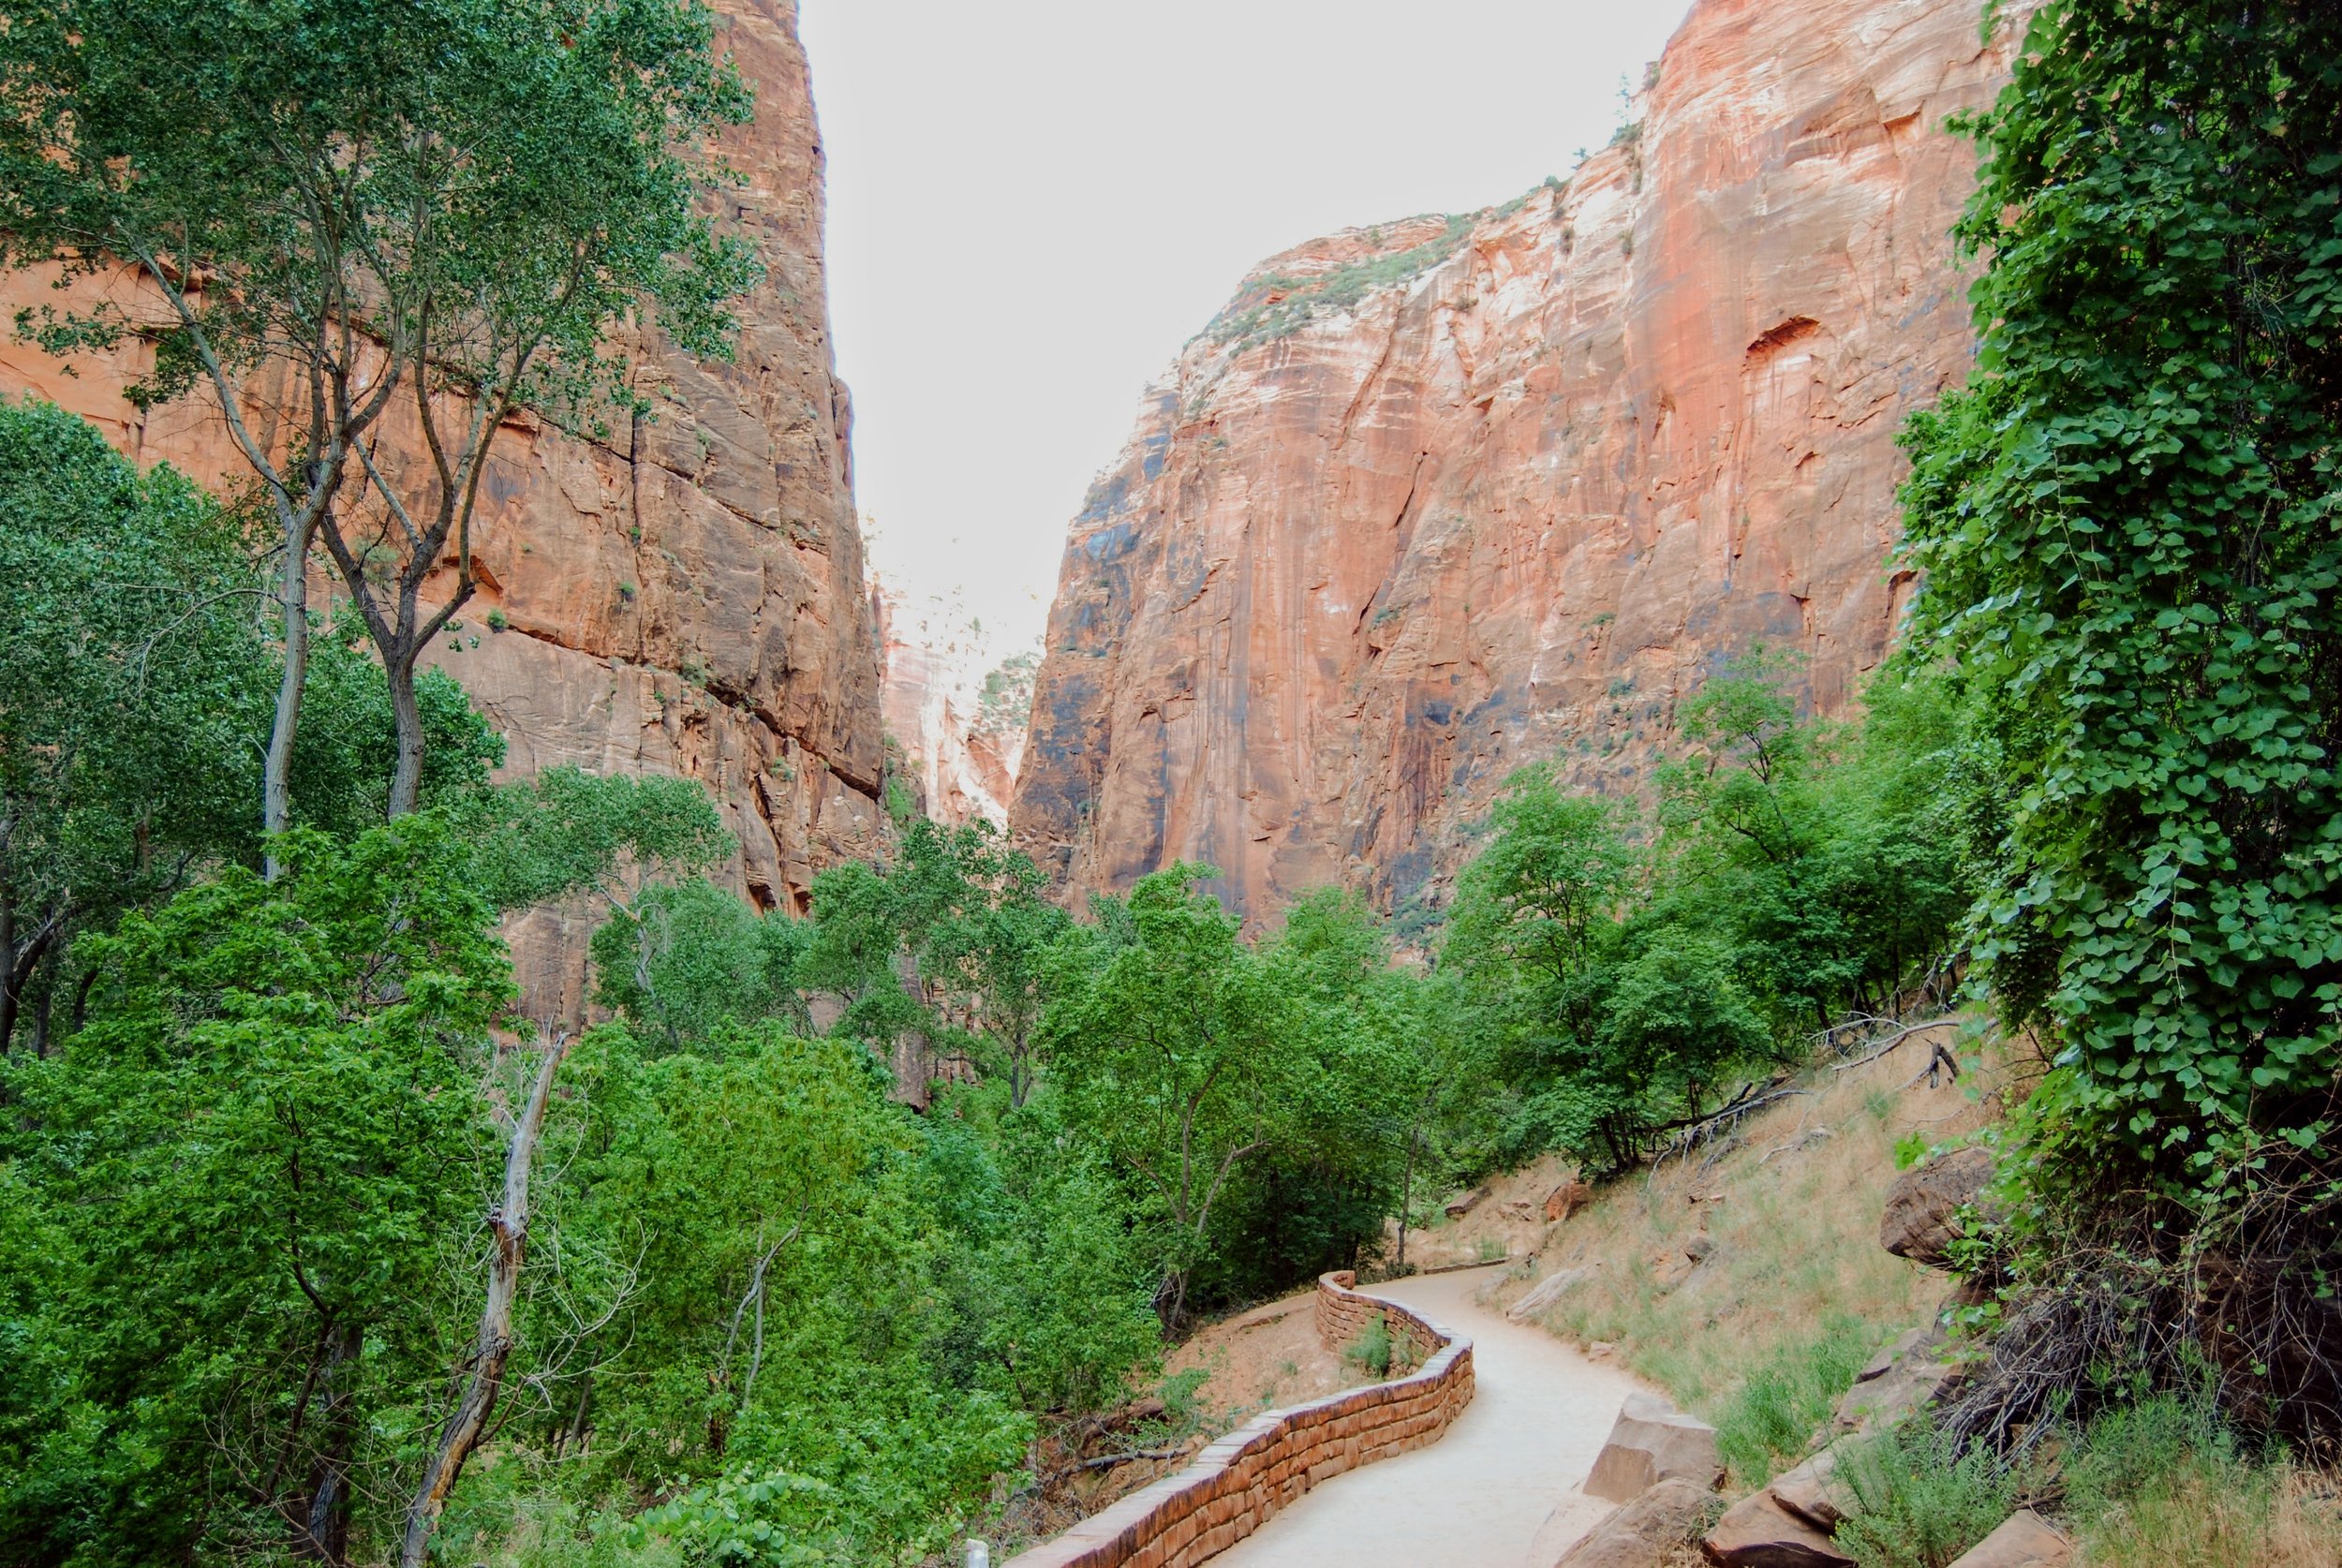
Riverside Walk-1 mile
To get to The Narrows, take the kinda- paved Riverside Walk from the shuttle stop. This is a 1 mile long, easy stroll through some beautiful scenery and along the Virgin River. Anyone can do this trail. It ends at a rocky beach where you begin wading upriver and thus begin hiking The Narrows.
Map courtesy of the National Park Service with my own additions
Mystery Falls-1.5 miles total from the trailhead
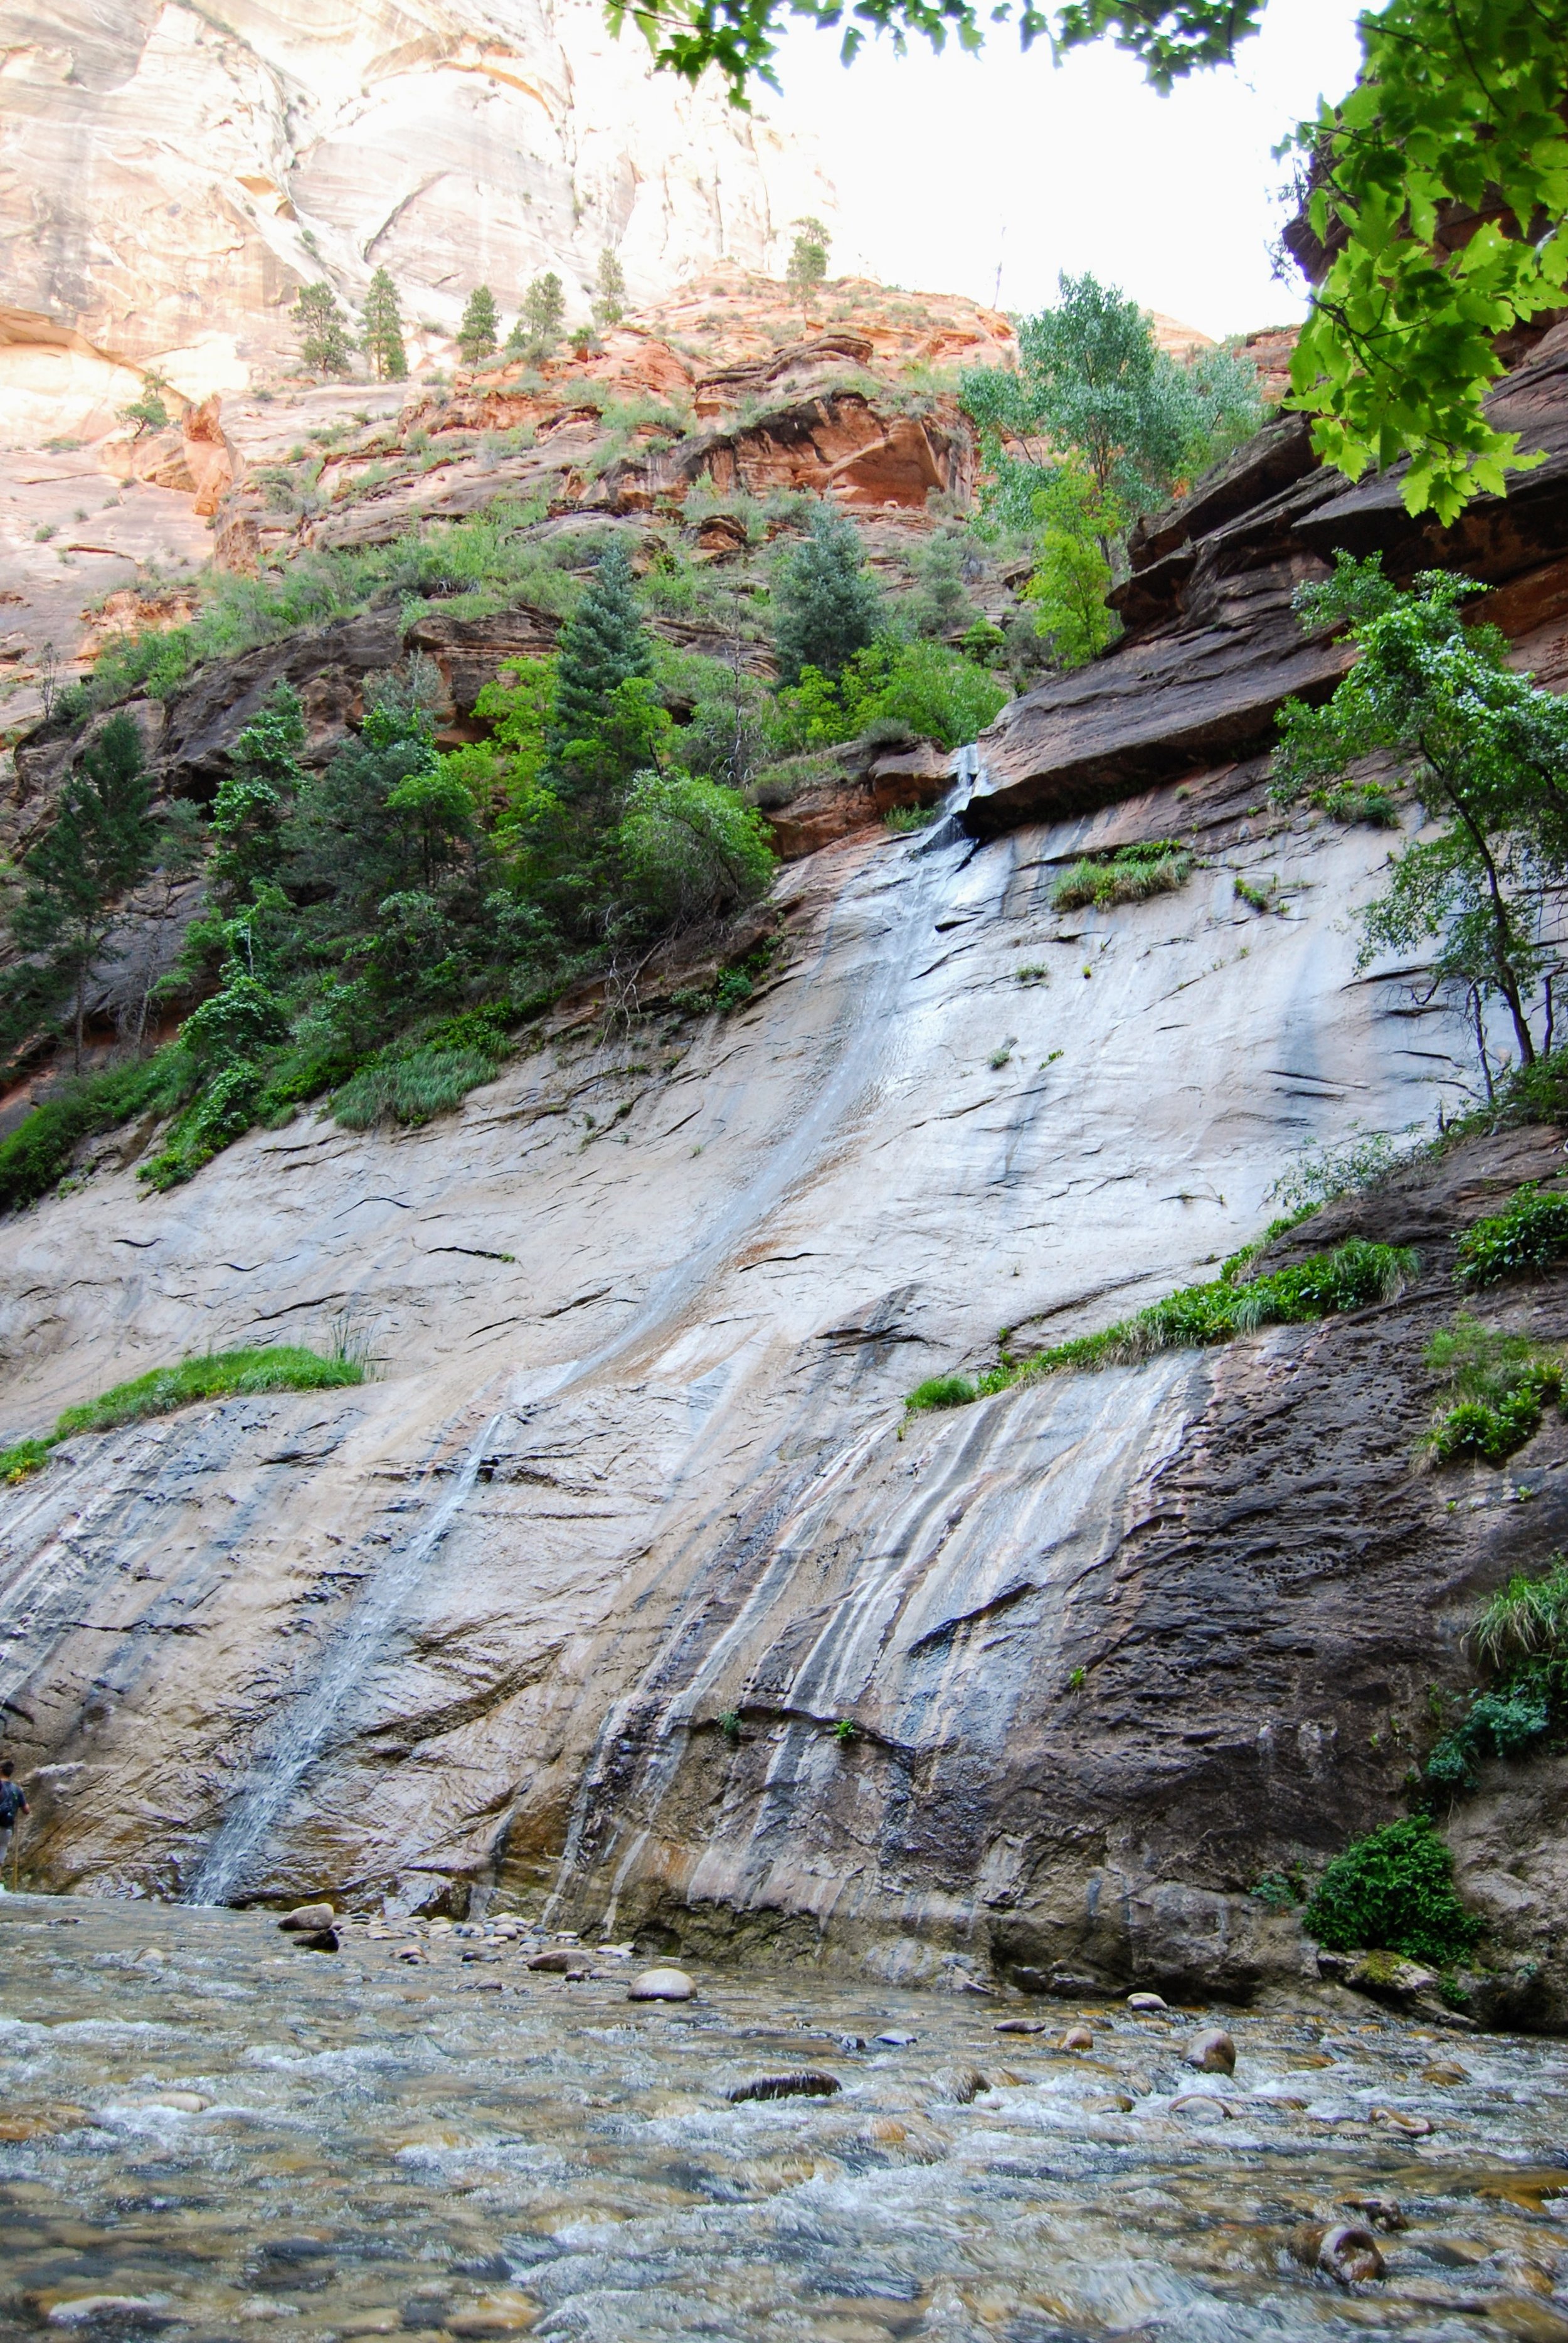
The first section in the river is 0.5 miles long, from where you start wading until you get to Mystery Falls, so named because water flows down the right side of the canyon wall.
Many people, especially with small children, turn back here. This is not because the trail gets any more difficult upstream but just because it is tiring to hike against the current and to constantly search for footing so they make this their end point.
The Beginning Of Wall Street/Orderville Canyon Confluence-2.5 miles from trailhead
The next marker is Wall Street, about a mile upstream from Mystery Falls. Here the canyon walls get much closer together and the "wow" factor really amps up. Although truly, the whole hike was an exercise in jaw-dropping beauty.
Orderville Canyon joins into the Narrows here as well. This is a brilliant slot canyon that you can detour up for 0.5 miles to Veiled Falls where a NPS sign tells you to turn back. I would explore the canyon if you have the time as it is a fun scramble and gorgeous photography opportunities abound.
Big Spring-5 miles from trailhead
From the confluence of Orderville Canyon, you can hike about 2.5 more miles up the Virgin River until you reach Big Spring where day hikers must turn-around.
***If you are interested in doing the entire canyon, you must get a permit and start at the top. See the NPS website for details.
Hiking Time
It took us about 4.5 hours to hike to Wall St/ Orderville Canyon and back, including lots of snack stops, photo pauses, and breaks to warm up cold feet. We hiked just under 6 miles total, turning around a little ways up Wall Street and including a short detour up Orderville Canyon.
I would say this was an average hiking speed as we were not passed by many people but we also did not pass many people ourselves.
We were passed by this guy but he was going the opposite way so doesn't count really.
My Tips For Hiking The Narrows
Hiking Up A River Isn't Easy
The current is against you and the footing is very slippery. Even going back downriver is not a breeze as you are still searching for footing. The water is cold so appropriate clothing and footwear is needed. See below for specific gear recommendations.
There Is No "Out"
The river is in a canyon, i.e. there is no "out" except at the trailhead. If you get tired, you must hike back the way you came, but more importantly, if there is a flash flood, there is nowhere to go. Always check at the Visitor Center and the signs at the trailhead for warnings before departing. See below for more specific safety advice.
Start Early In The Day
An early start is especially important during the summer. There are two good reasons for this:
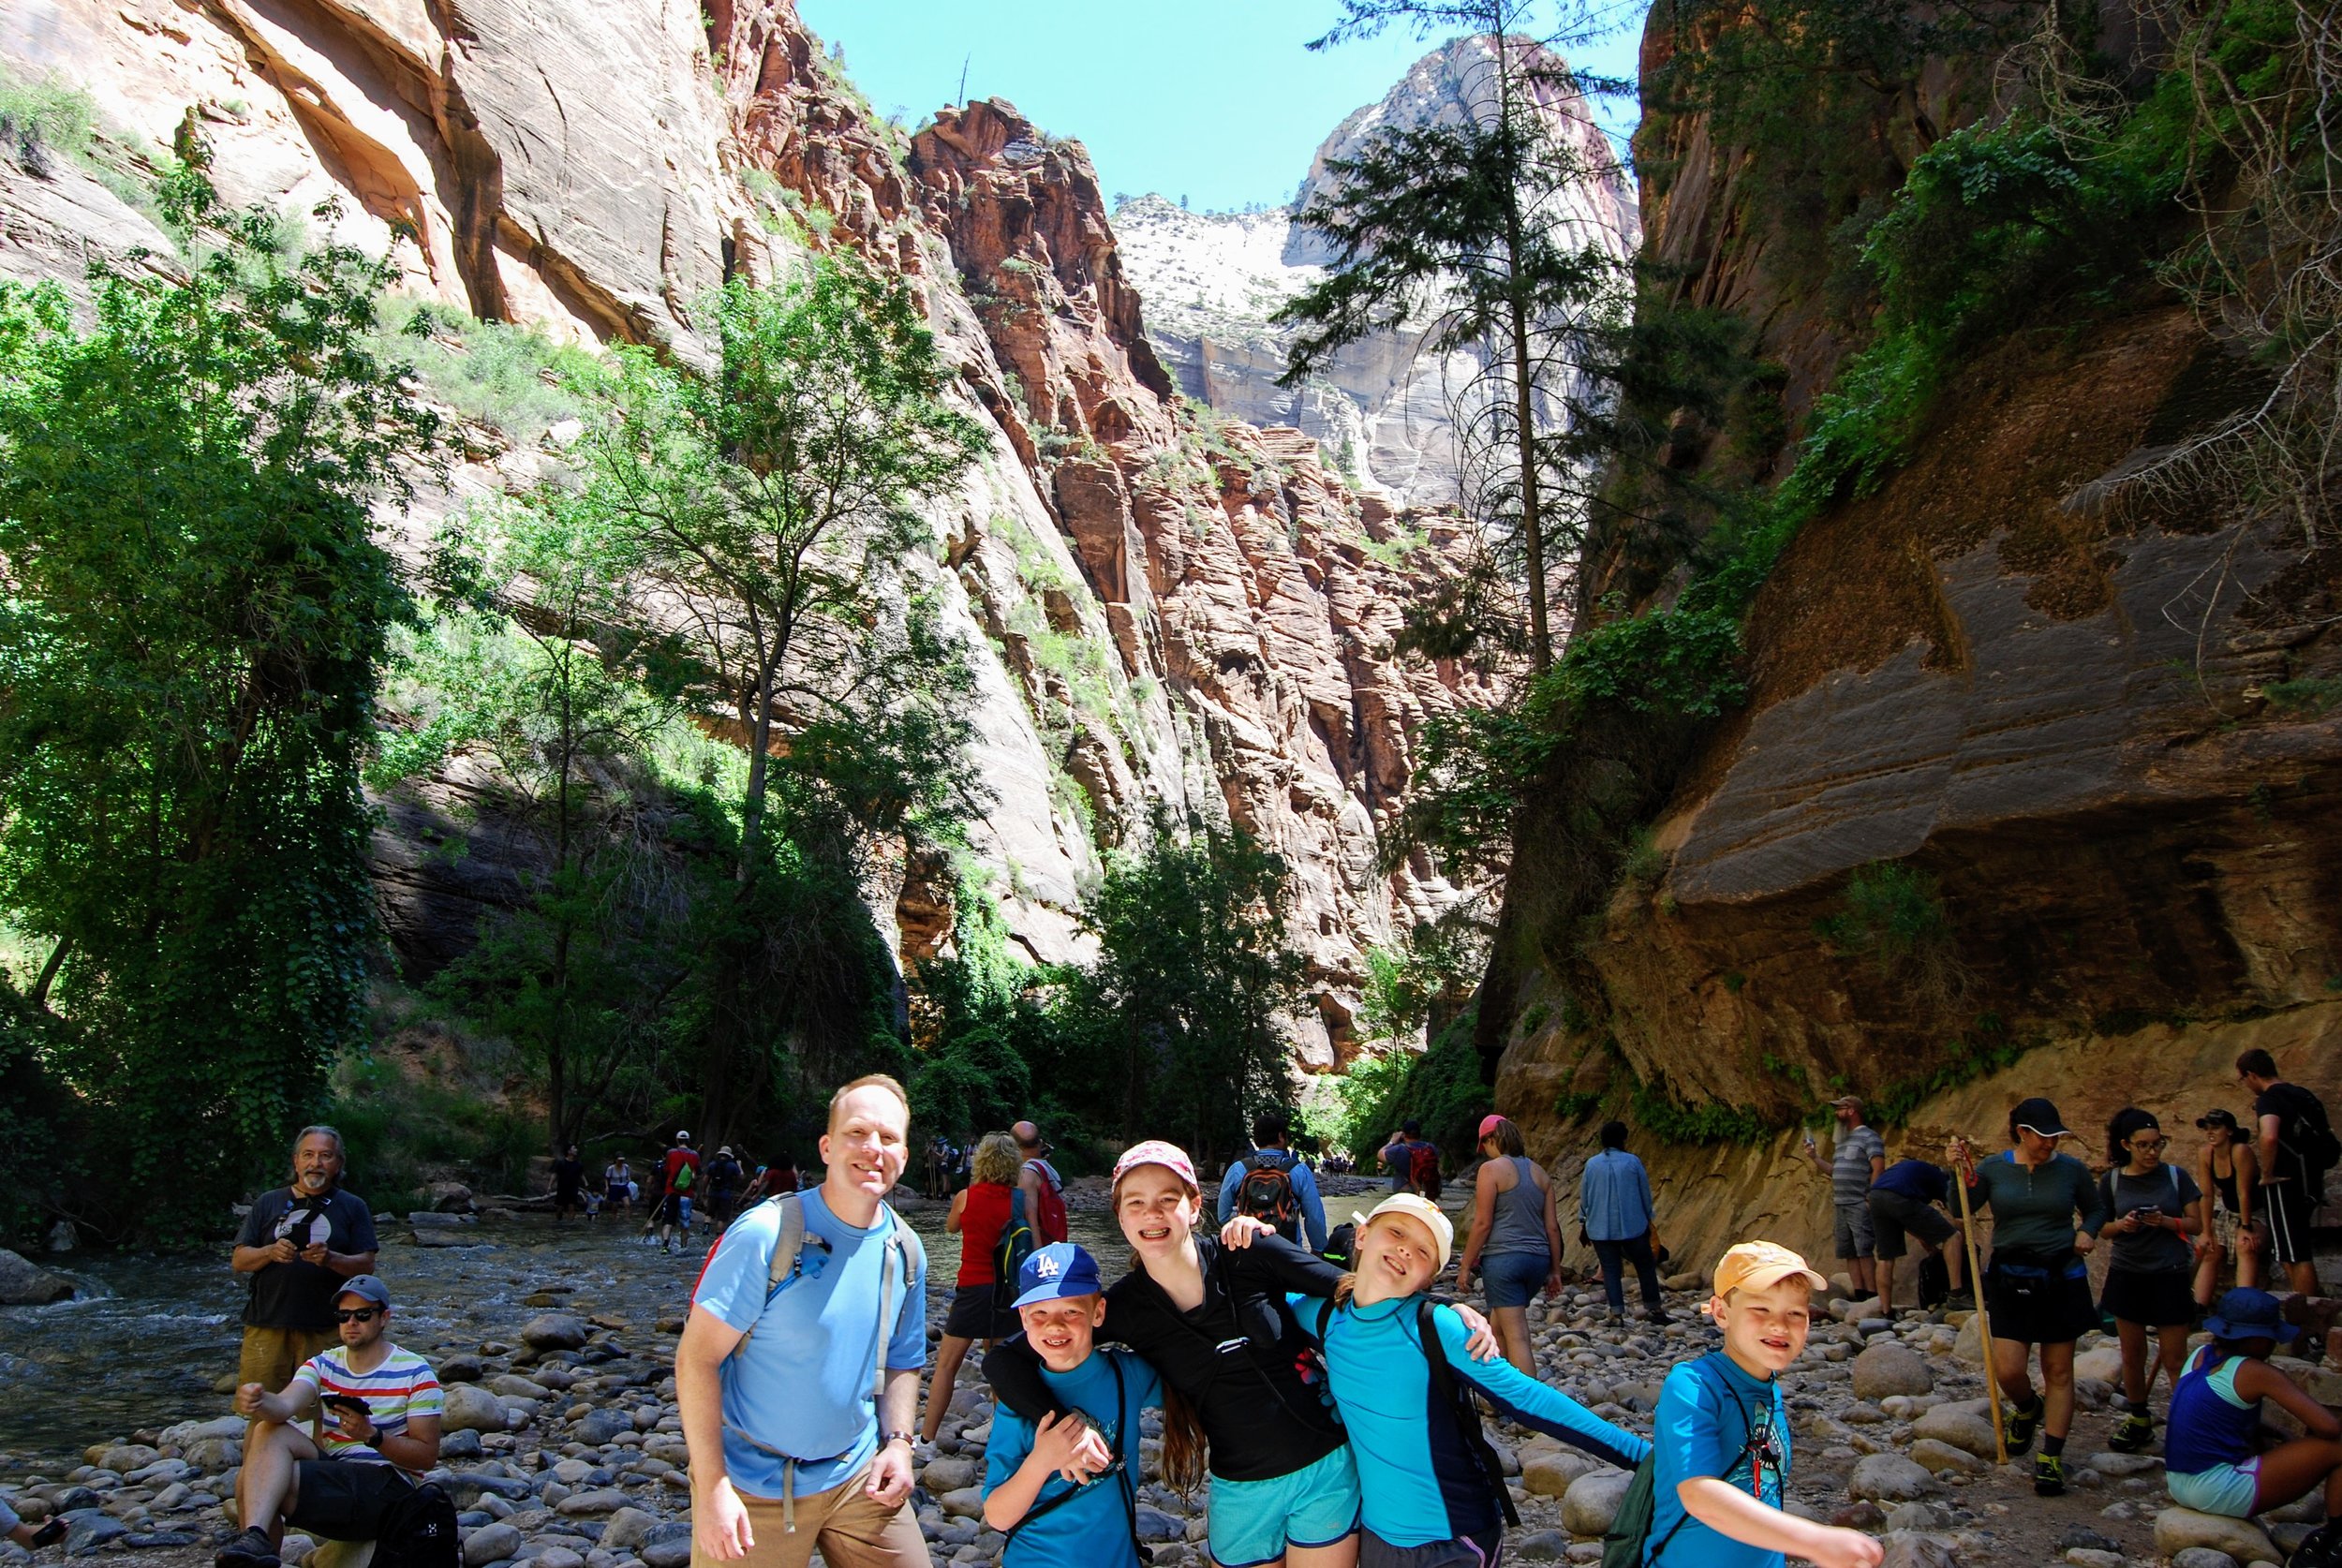
1) The Narrows is an incredibly popular trail and by late morning resembles a crowded amusement park.
2) Thunderstorms are far more likely in the afternoon so you want to be off the water by then to avoid not just lightning, but also flash flood dangers.
We caught the first shuttle from the Visitor Center at 6 am and were on the trail just before 7 am. The shuttle was packed but people spaced out once we began hiking and I have some beautiful shots of just us and the river. By the time we got back to the trailhead around 11:30 am, we had to pick our way through the throngs of people. I have been to football games that were less crowded.
Take A Last Chance Bathroom Stop
You'll find nice flush toilets at the Temple of Sinawava and they will be your last chance unless you pee in the river. Which everyone does. There are no secluded spots in a canyon.
Put Some Moleskin In Your First Aid Kit
After several hours hiking in wet shoes and clothes, we had a problem with raw skin on feet from shoes and on the inside of legs from bathing suits and shorts rubbing. The moleskin stuck really well despite being soaked. It still had to be replaced but only every hour whereas the band-aid was an immediate loss.
Bring Water
There are no water stations on the trail.
We brought 1.5 liters per person and ended up dumping about 0.5 liter each on the way back. We did not use as much water as we planned because it wasn't as warm on the trail as we thought it would be due to our early start. We also did not hike the entire trail, so you might need more water than we did if you hike all the way to Big Spring.
Pack Snacks
It is hard work hiking up a river and we worked up quite an appetite. We planned on lunch back in Springdale after we came off the trail so we just brought loads of granola bars and apples with us. We ate them all.
Plenty of people brought lunch to have on the trail though. There are several areas with enough rocky shoreline for a picnic in the section before you get to Wall Street. Just remember you have to pack it all out.
Safety and Preparations
Find Out The Flow Rate Of The Virgin River Before You Go
I would first check the historical water levels in the planning stages to see if the hike is doable for the dates you are going. Then keep re-checking actual flow rates closer to time. Winter snow melt and heavy rainfall can mean the actual flow is different from the historical averages.
Below 50 cfs is the ideal flow rate.
Look on the US Geologic Survey's website (there is also a link on the NPS The Narrows page) for the graph showing current discharge in cubic feet per second (cfs). Anything below 100 cfs is okay for hiking but I would look for below 50 cfs if you are hiking with children.
We hiked with four kids (12, 10, and twin 8 year- olds) and the flow was 45 cfs in early July. This was just high enough for it be a fun challenge for the kids. We still had to help them out at spots though. If the water was any higher, I think we would have tired out long before we got to Wall Street. And the water is cold, even in summer, so small changes in water depth are a really big deal when you are only 4 feet tall.
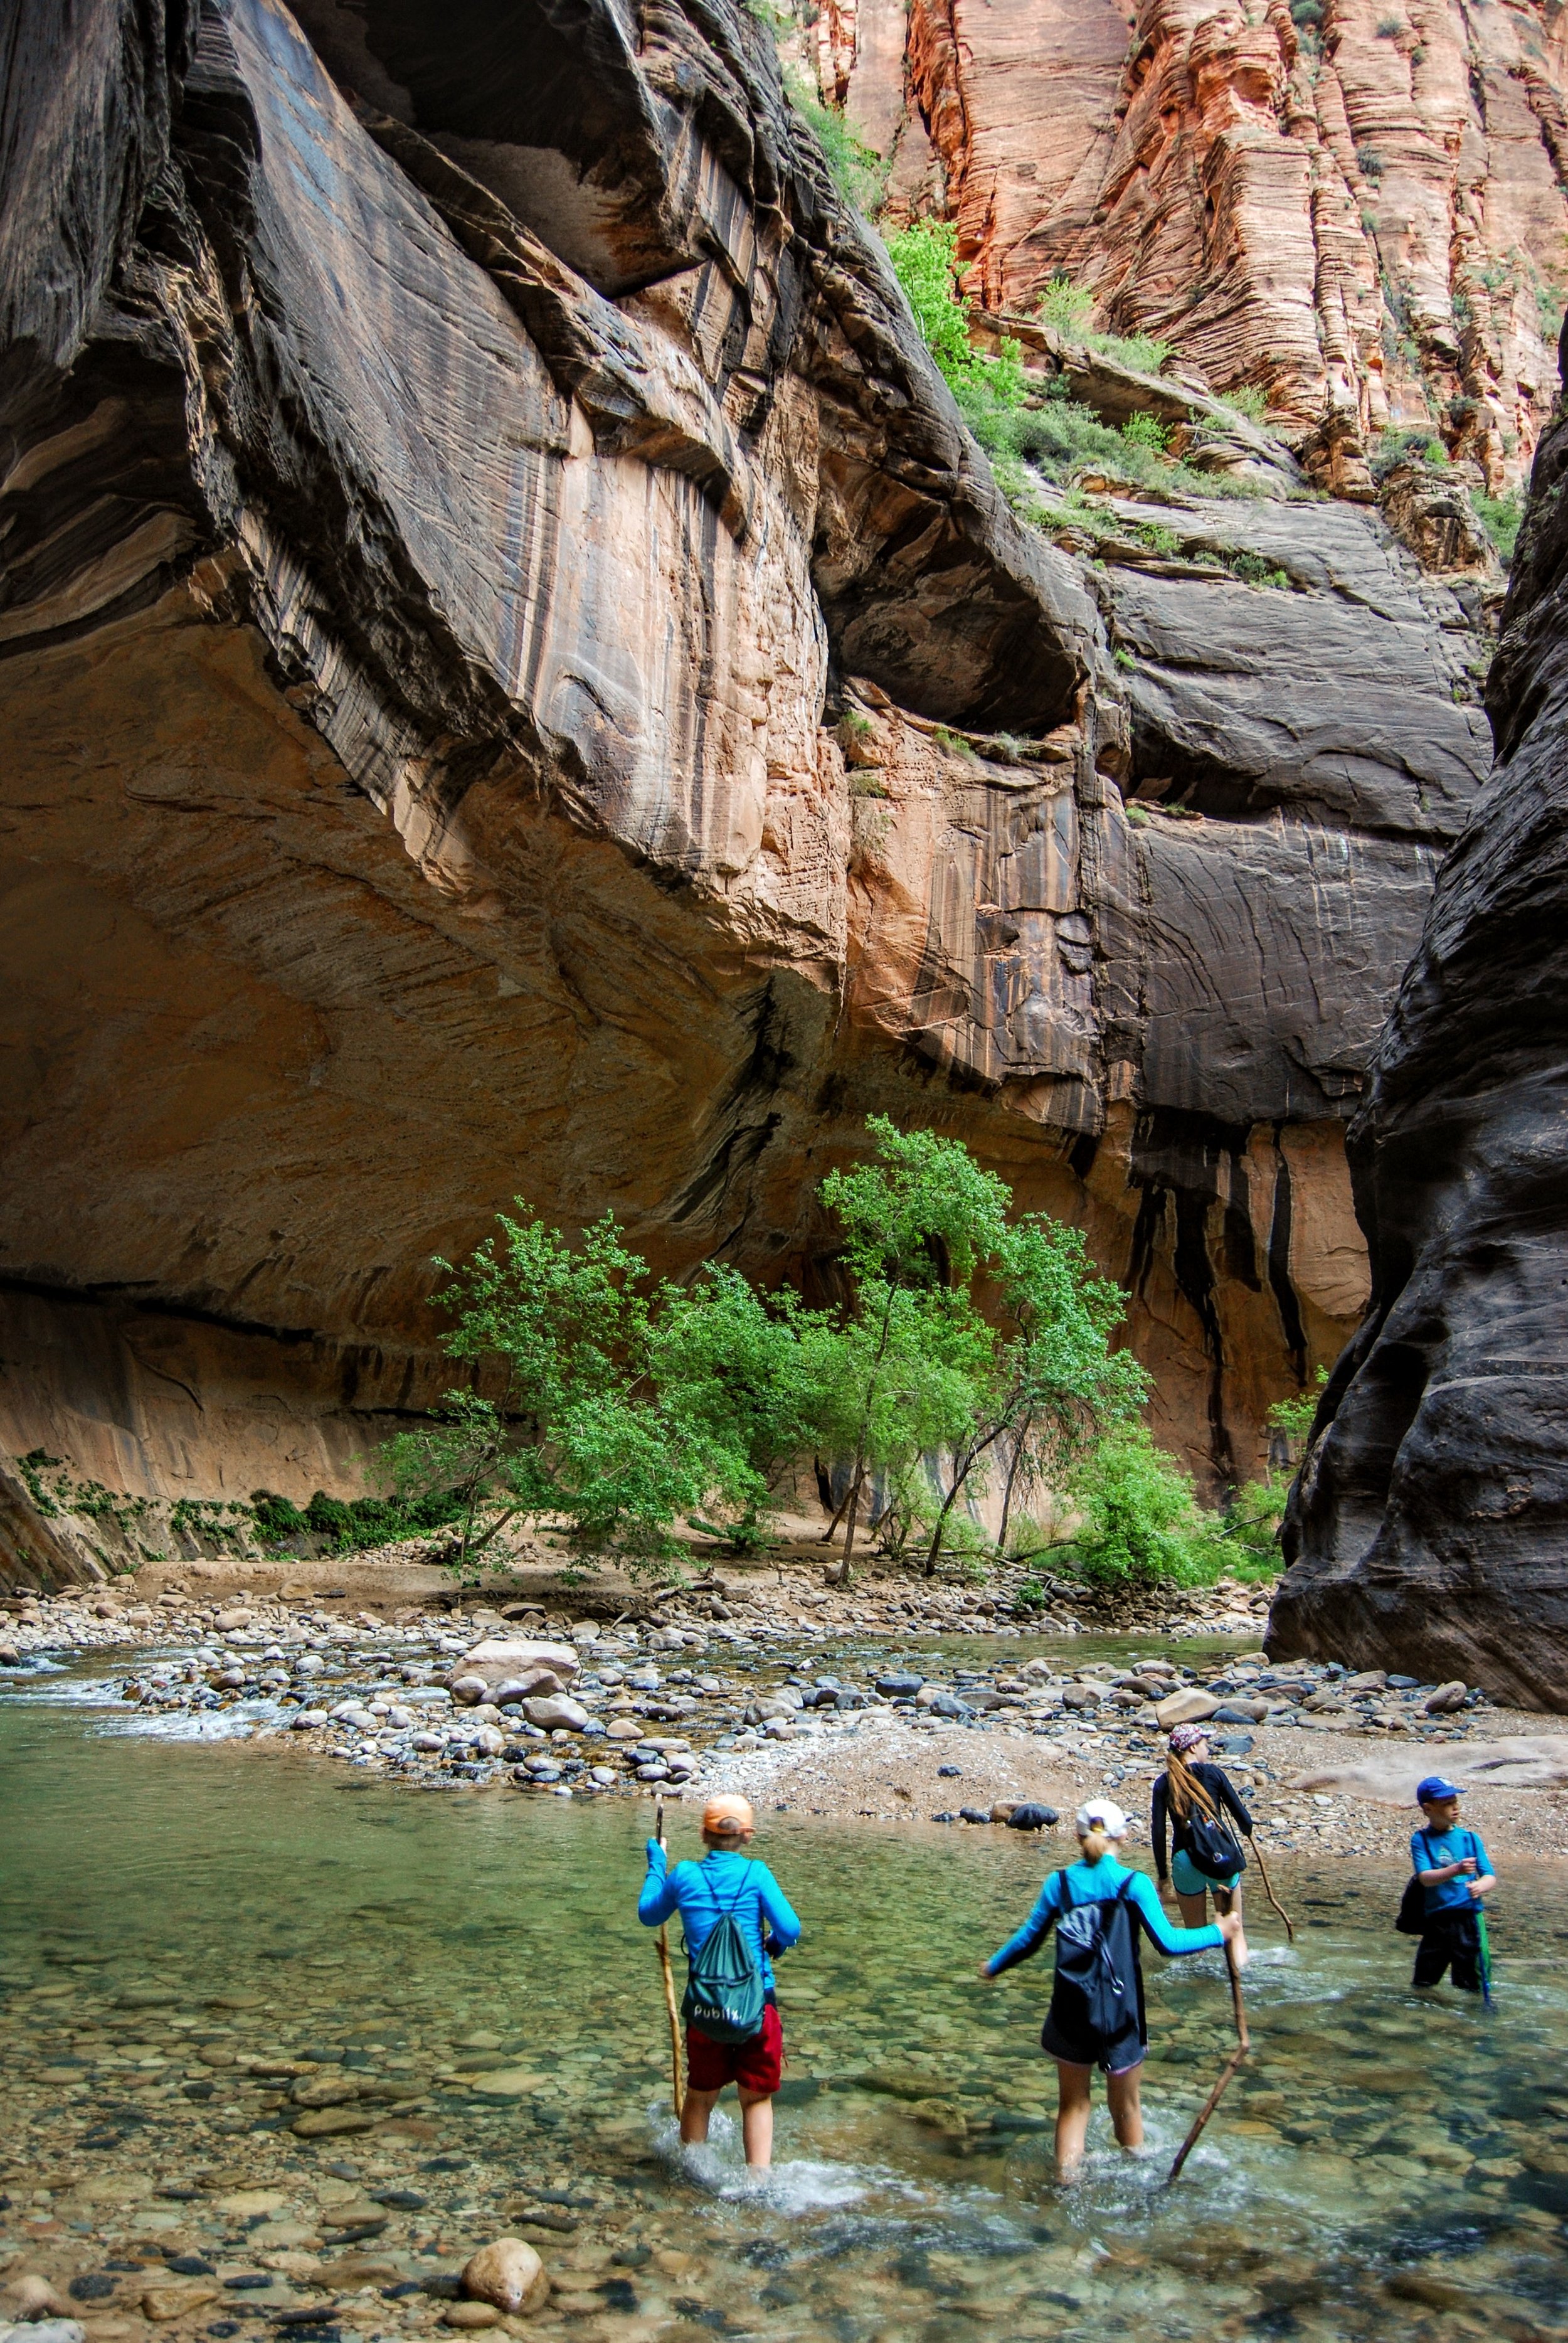
There are occasionally big pools to cross through on your way up the Narrows, especially around these rocks. Some are surprisingly deep.
Be Aware Of Flash Flood Risks!!!
Check the weather forecast before you leave your hotel. NOAA also has a flash flood page for southern Utah. There is no cell coverage in the park so you can't count on a last minute check from the trailhead--check the weather before you enter the park!
The Temple of Sinawava shuttle stop has a big sign marking the flash flood potential that day- pay attention to it.
The Zion Visitor Center has current weather information but does not open until 8 am, not good when you are heading out early. You can always enquire the day before your hike though about trail conditions and weather forecasts.
If there are thunderstorms in the area, do something else that day. People die in Zion from flash floods.
Be aware of the water conditions on the trail as well. If the water changes from clear to muddy or starts rising at all while you are hiking, turn around immediately or seek higher ground. I kept a mental note of high ground spots I saw along the way the whole time we were hiking.
I know I was a bit paranoid but hiking with kids makes me so much more cautious than when I am hiking by myself.
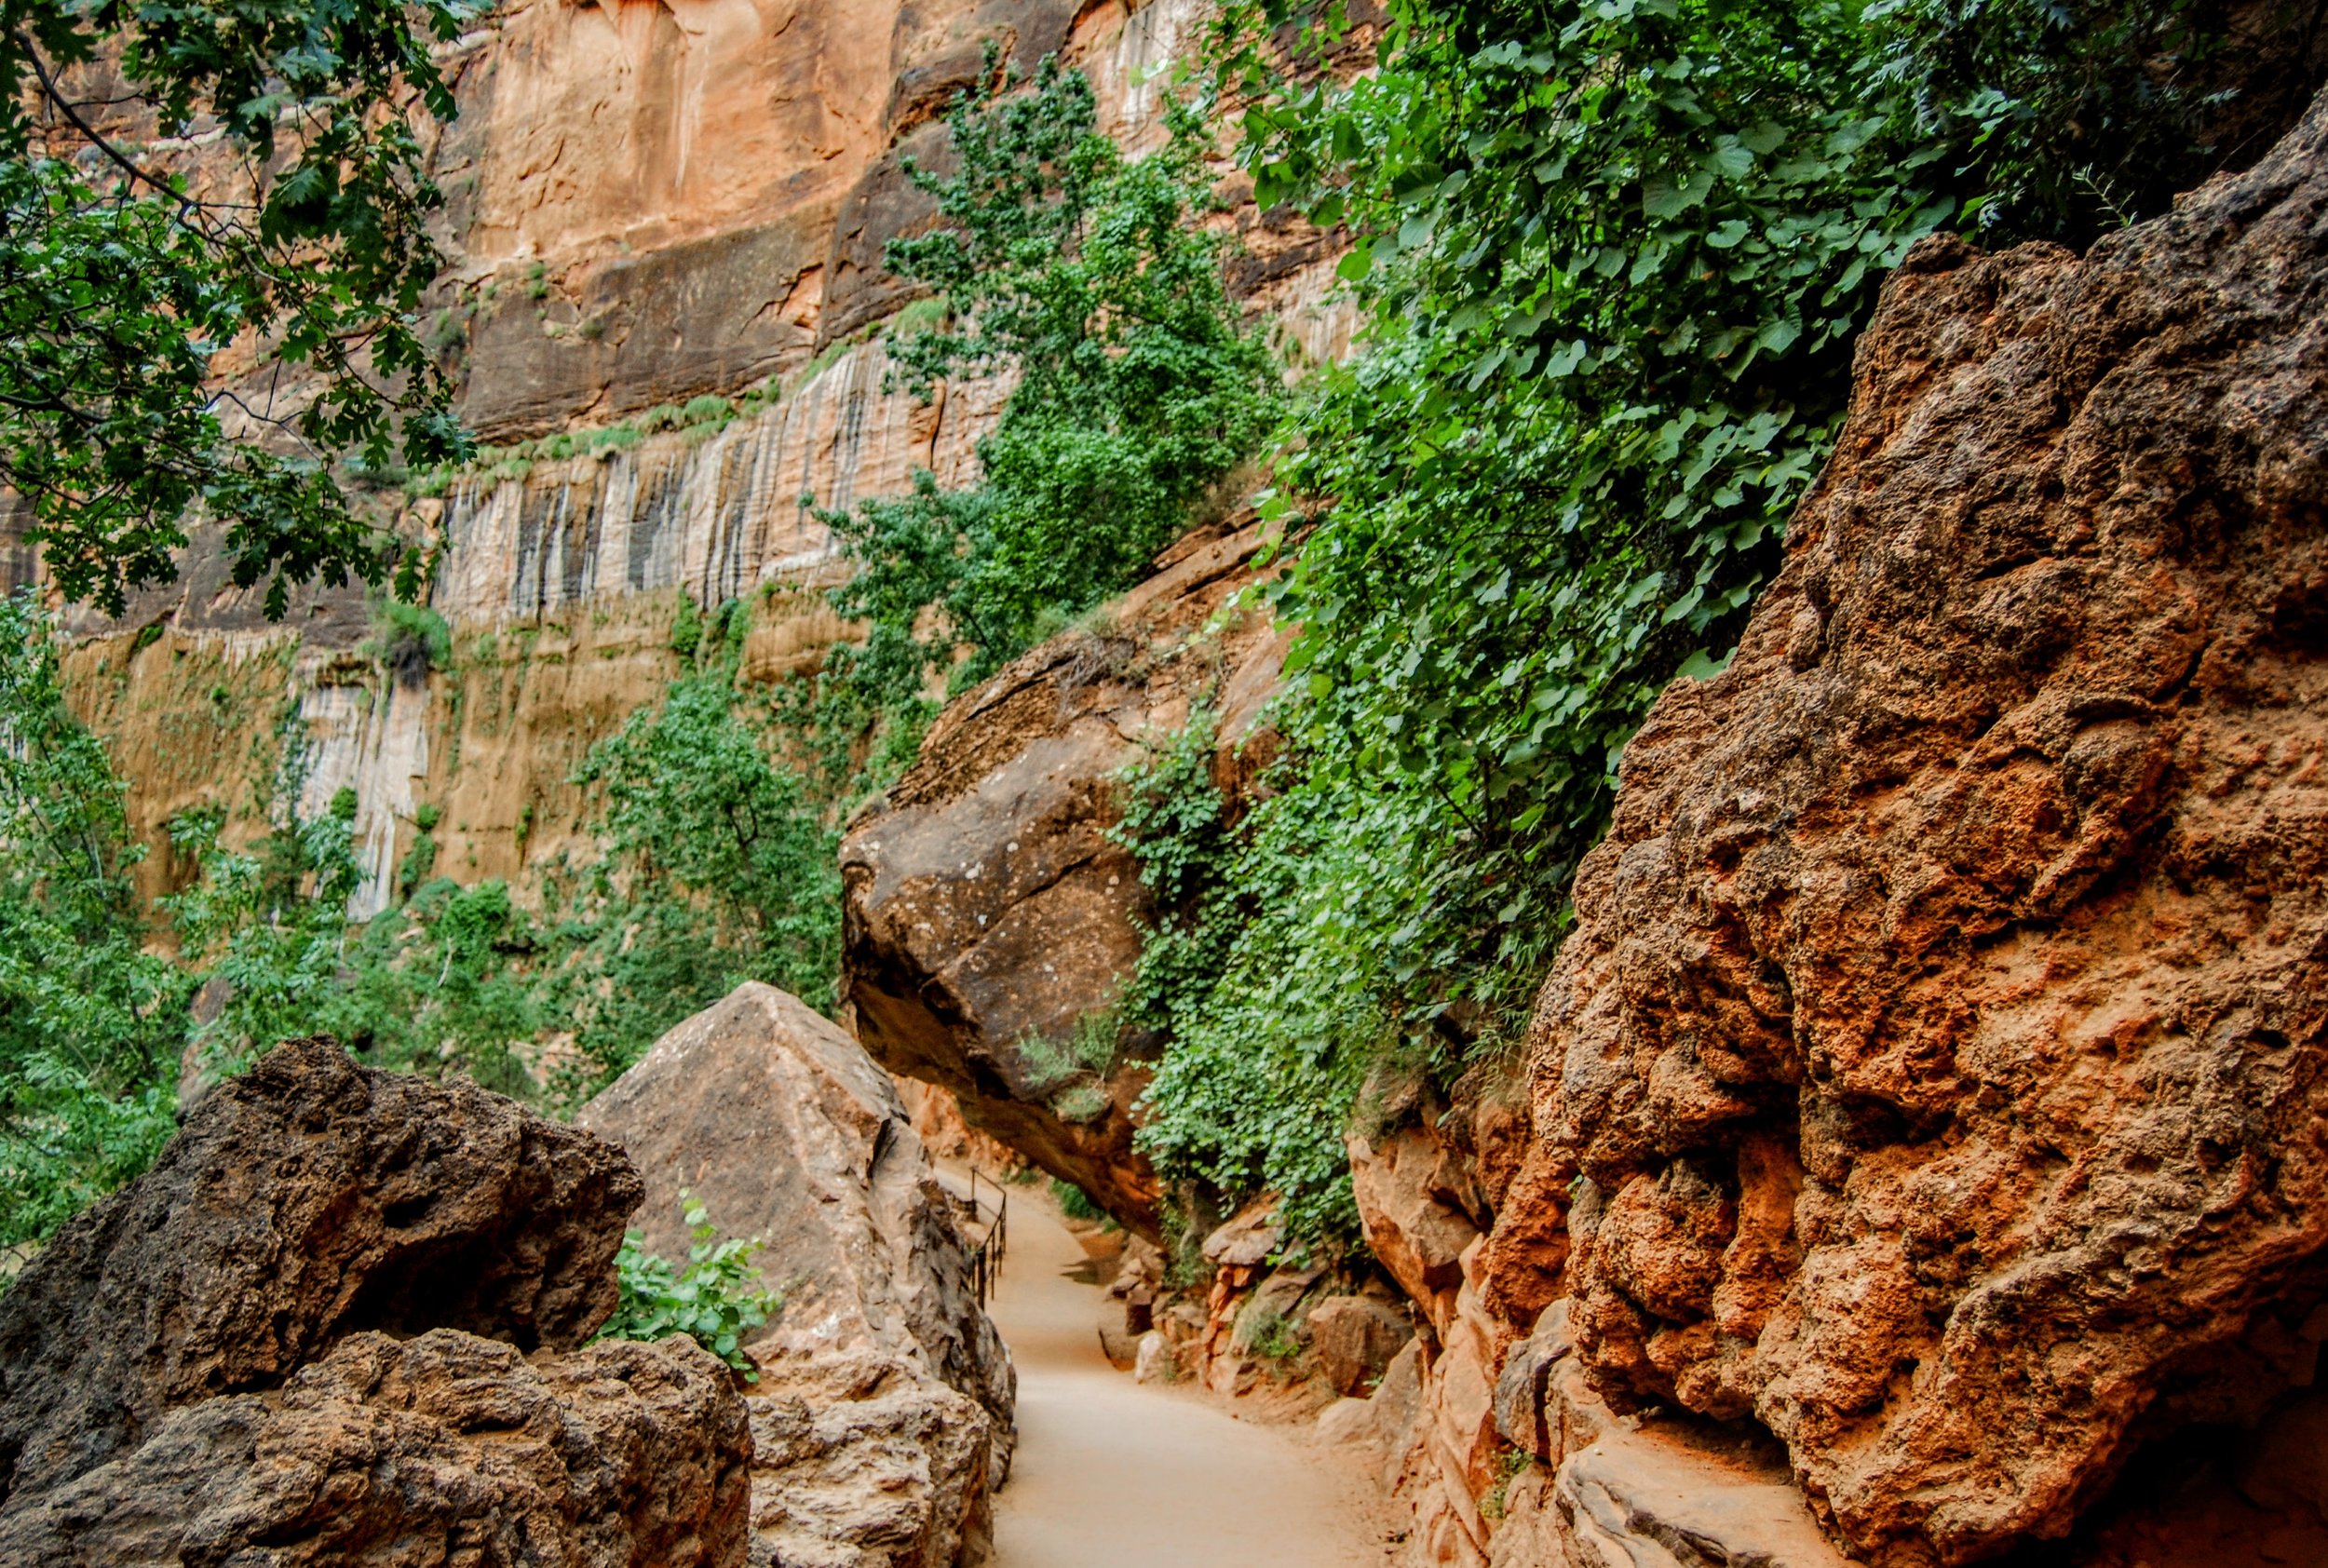
One of the only sections of the trail where you can walk out of the water.
Go During The Beginning Of Summer (June- early July) And Hike Early In The Day
The southwest of the United States experiences a "monsoon season" from mid-July to mid-September which entails powerful thunderstorms usually between 11 am and 6 pm. The storms may be short-lived but they dump a lot of water (not what you want in a canyon) and lightning (also not good when you are knee-deep in water).
The weather forecast read "10%- 30% chance of scattered afternoon thunderstorms" every day we were in Zion. And it doesn't have to rain on you, a thunderstorm 30 miles upriver can cause a flash flood. Read this article for a sobering look at what can happen.
Gear Advice
Think About Renting Gear
There are a number of outfitters in Springdale (the town just outside the park boundaries) that rent Narrows gear. The summer package generally runs about $25 and usually includes canyoning boots, neoprene socks, and a walking stick, while the cold weather package will also include dry pants or an entire dry suit.
We hiked in July and decided to skip the footwear package, just wearing our tried and true water sandals (Keens and Chacos.) While the footing was fine, two of the four kids had uncomfortably cold feet by the end and I wished we had rented the socks at least, if not the whole package.
*All of our water shoes were closed-toed, I would definitely not do this with open toed shoes. As much as I love my Tevas, I think I would've broken a toe had I been wearing them.
Use A Hiking Stick
Sticks come in handy on one of the approximately 500 times you will cross the Virgin river on this hike.
I never use a stick or pole on my normal hiking trips, but I found it extremely useful on this excursion. It gives you some added stability in the fast moving current and tricky footing.
We got to the trail early enough (7am) that there were plenty of sticks leftover from the day before at the rocky beach at the end of the Riverside Walk. Sticks also come included with most gear rentals.
Use the stick on the upstream side for the most stability. I didn't figure this out until about an hour into the hike although everybody in my group else seemed to have grasped that immediately. Not my swiftest moment.
Bring A Dry Bag
A dry bag is a necessity. The footing is extremely slippery (On wet rocks? Who knew?!) so plan on taking a header into the water at least once on this hike.
The photography opportunities are outstanding though so also plan on bringing your nicest camera. This combo means you had better include a dry bag unless your camera is different than mine and likes to get wet.
Lunch also tastes better not soggy. Ziplocs will work in a pinch but spending $5-10 on a dry bag rental is a minor investment for peace of mind. Get one off Amazon or rent one from one of the many outfitters in Springdale.
Wear A Long-sleeved Shirt Or Light Jacket
You might think in July this would not be necessary but you would be wrong. The water is cold and, if you get to the trail early like you should, the trail is mostly shaded until you are on your way out.
I wore running tights and a long-sleeved shirt and was happy. The kids had bathing suits, shorts, and long- sleeved swim shirts.
Use Sunscreen
I know I just said the sun won't shine on you but there are some sections where the walls open up a little. Also, what little sun does shine down is reflected off the water so you are more exposed than you might think. The ball caps were brought for sun protection but turned out to be just as useful for warmth.
Some sections of the trail are sunnier than others.
Other Valuable Resources
These were some of the most useful websites I came across:
The Narrows - Zion National Park (the NPS website)
Zion Narrows Day Hike - Joe's Guide to Zion National Park
6 Things You Didn't Know About Hiking in the Narrows- The Outbound Collective
Hiking the Zion Narrows - Zion Guru
There are numerous, numerous YouTube videos. (Seriously, what did people do before GoPro?)
Where To Stay
Heads up: We are not sponsored in any way. We only recommend places we have stayed or would stay at with our own families. If you book through one of our links, you won’t pay a penny more but we may get a small commission which helps support this website. Thanks! Full Disclosure Statement.
We stayed at Cable Mountain Lodge which is just outside the national park boundary in Springdale. You can walk to the Zion Visitor Center in 10 min. The Lodge was beautifully situated next to the Virgin River and we had a Wall Bed Suite that comfortably slept 2 adults and 4 children. Rooms also have kitchenettes that come in handy for meals. We would stay there again.
We also looked at the Hampton Inn & Suites as well as the Springhill Suites by Marriott. Both are well- reviewed hotels with pools, free breakfast, and easy access to the free Springdale shuttle to take you to the park.
*For more hotel information, dining options, and campgrounds in Zion and Springdale, look below for our detailed guide to Southwest Utah.
Looking For A Vacation House?
Search for your very own base camp in nearby Springdale, Utah.
Take Home Message
If you are visiting Zion National Park, this trail should be at the top of your to-do list. It is spectacular and worth all the extra preparations. Even with young kids I would still give it a try because, while you might only make it a quarter mile upstream, it is an experience nonetheless. Don't be cavalier about the weather though and you must be okay with the possibility that Mother Nature won't cooperate with your best laid plans. There is always a next time.
Plan Your Trip
See the itinerary below for all the details of a fantastic vacation to Southwest Utah including more hikes, lodging, a beautiful slot canyon, and a campground you've probably never heard of...
Too busy to read through a million blogs and guidebooks to maximize your time in Zion and Bryce Canyon National Parks? This guidebook has everything you need to know: where to sleep, eat, and play along with tips that keep everyone happy. All organized for you into detailed, day-by-day plans.
View sample pages.
When you purchase a trip itinerary, you will receive an email with a link to download a PDF file for easy viewing on your mobile device- no heavy guidebook to pack.
Money-Back Guarantee On All Itineraries








Welcome to our series “A Simply Awesome Day in...” where we share a full day’s excerpt from one of our family vacation destinations. Today, we offer a fun day from our 7 day Southwest Utah Itinerary. Day 4 details a sunrise hike in Bryce Canyon, followed by a scenic drive and some more short, kid-friendly hikes.